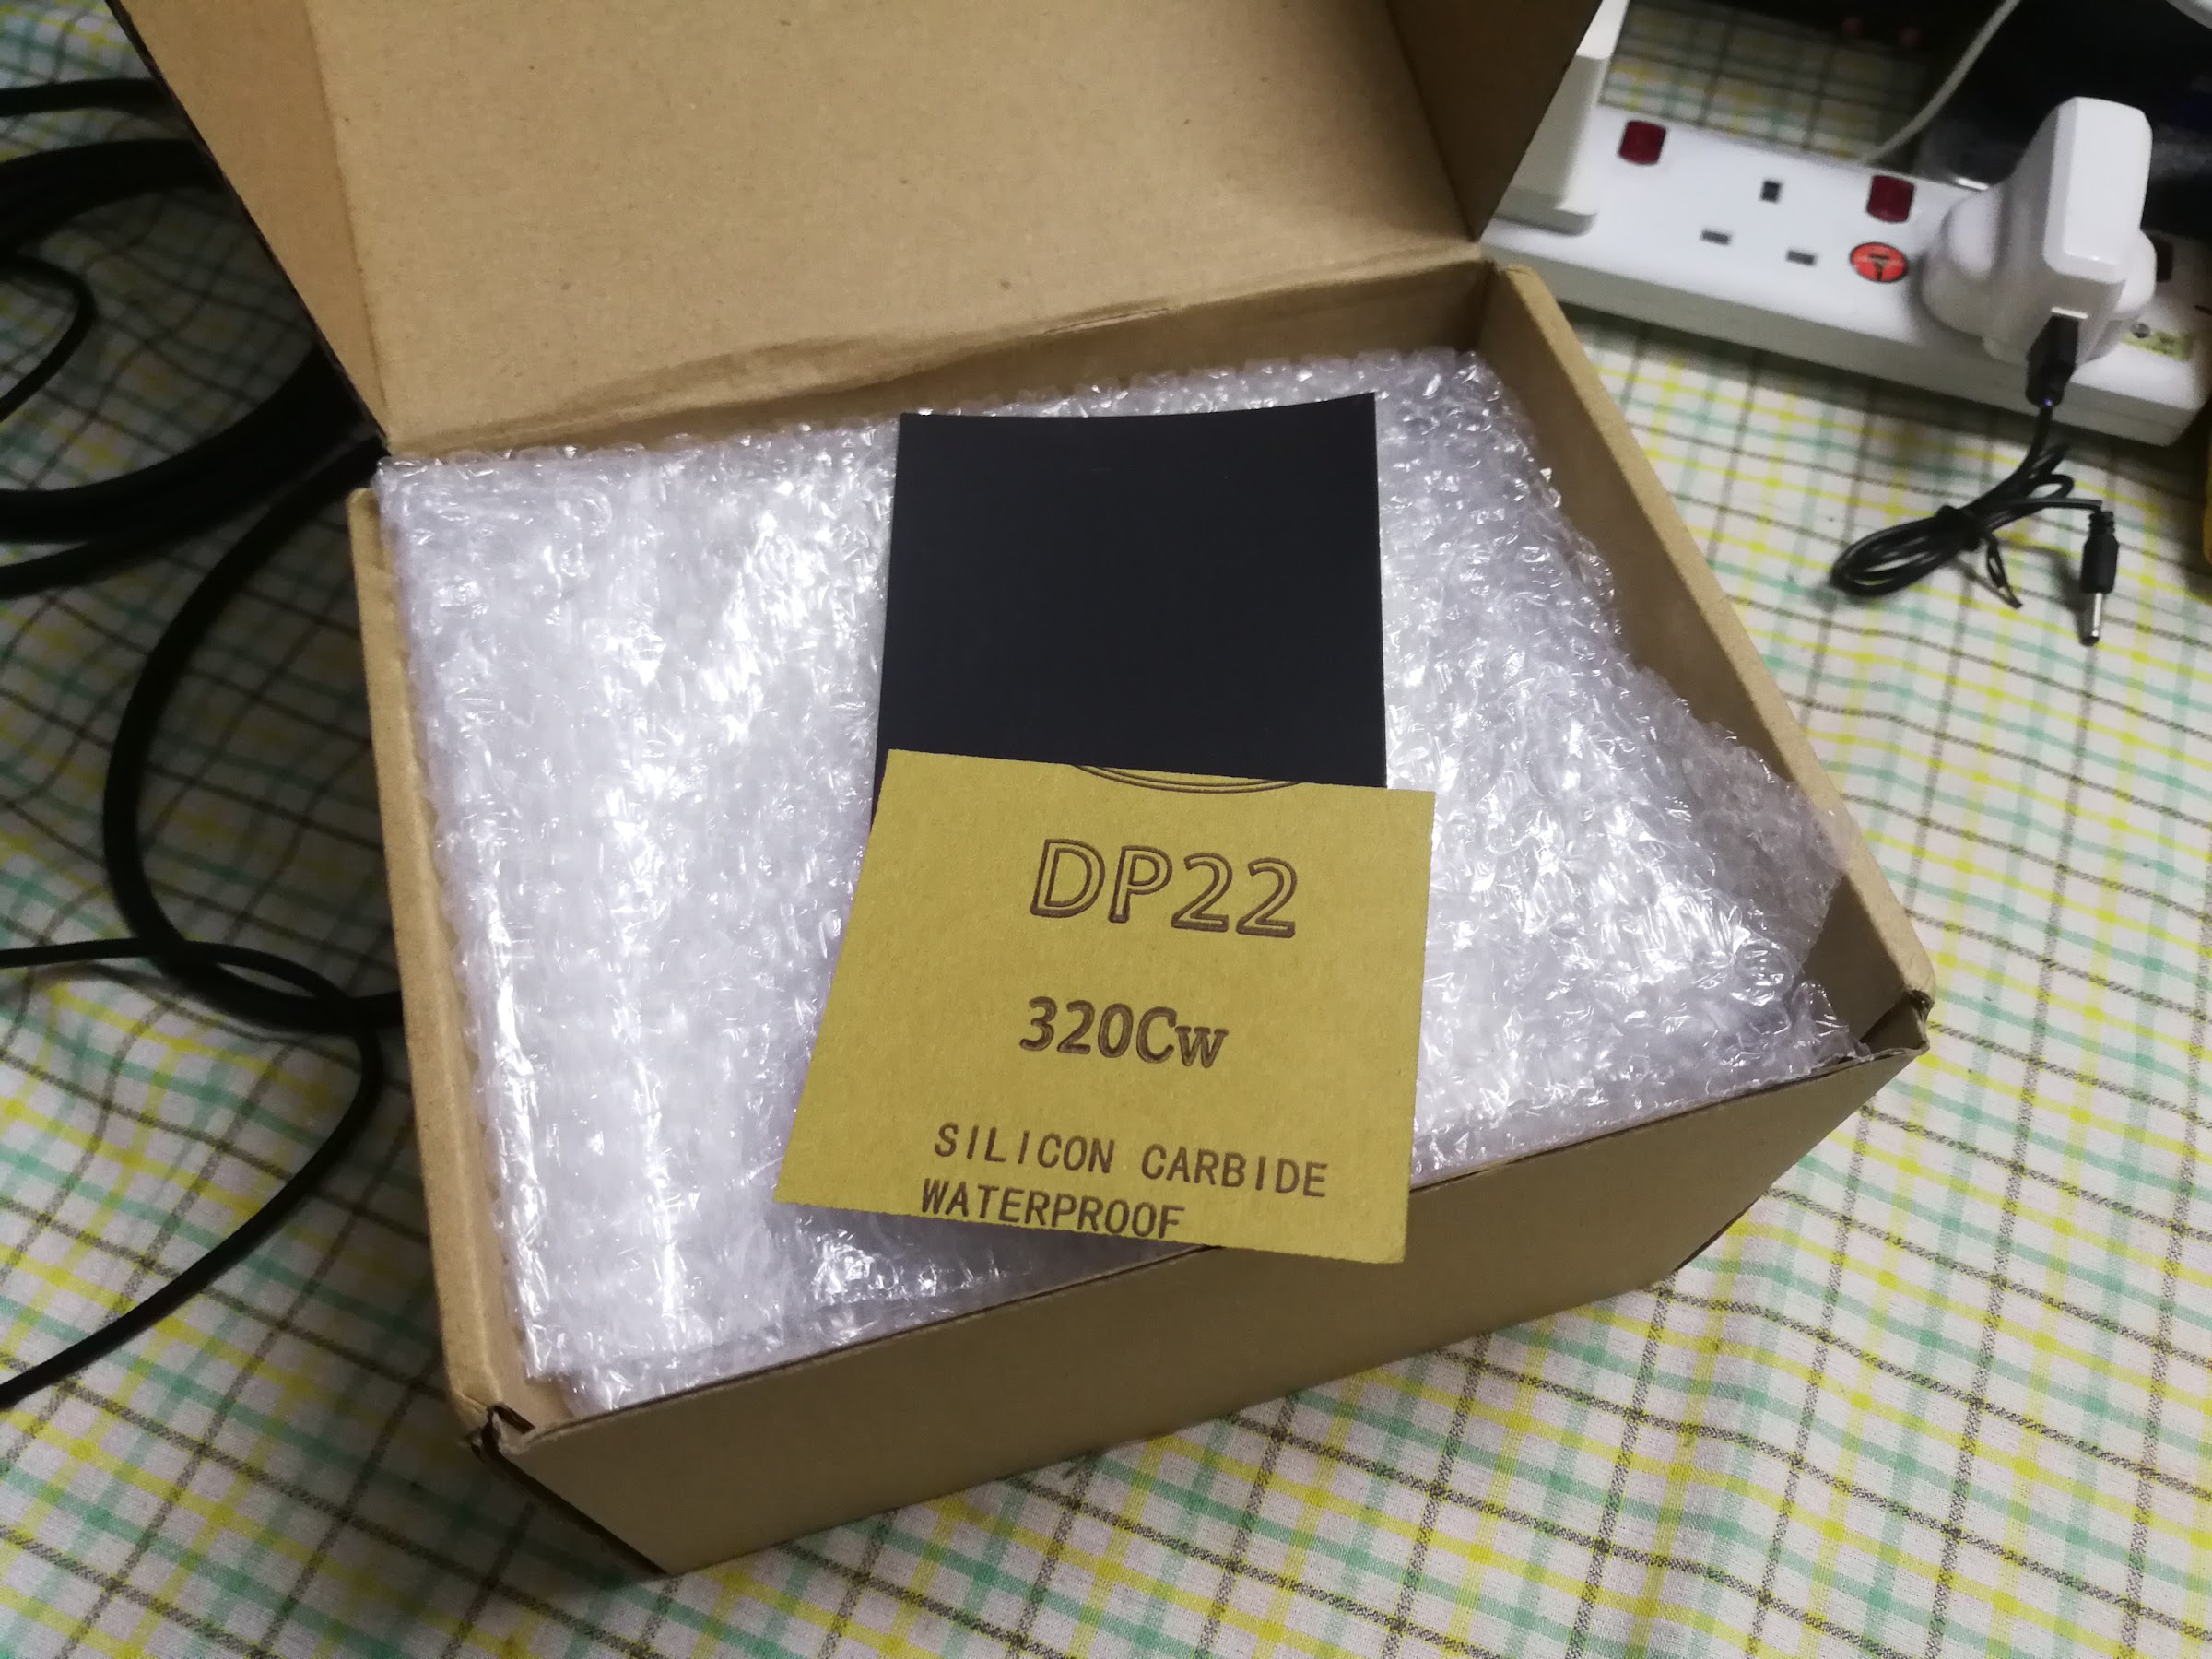
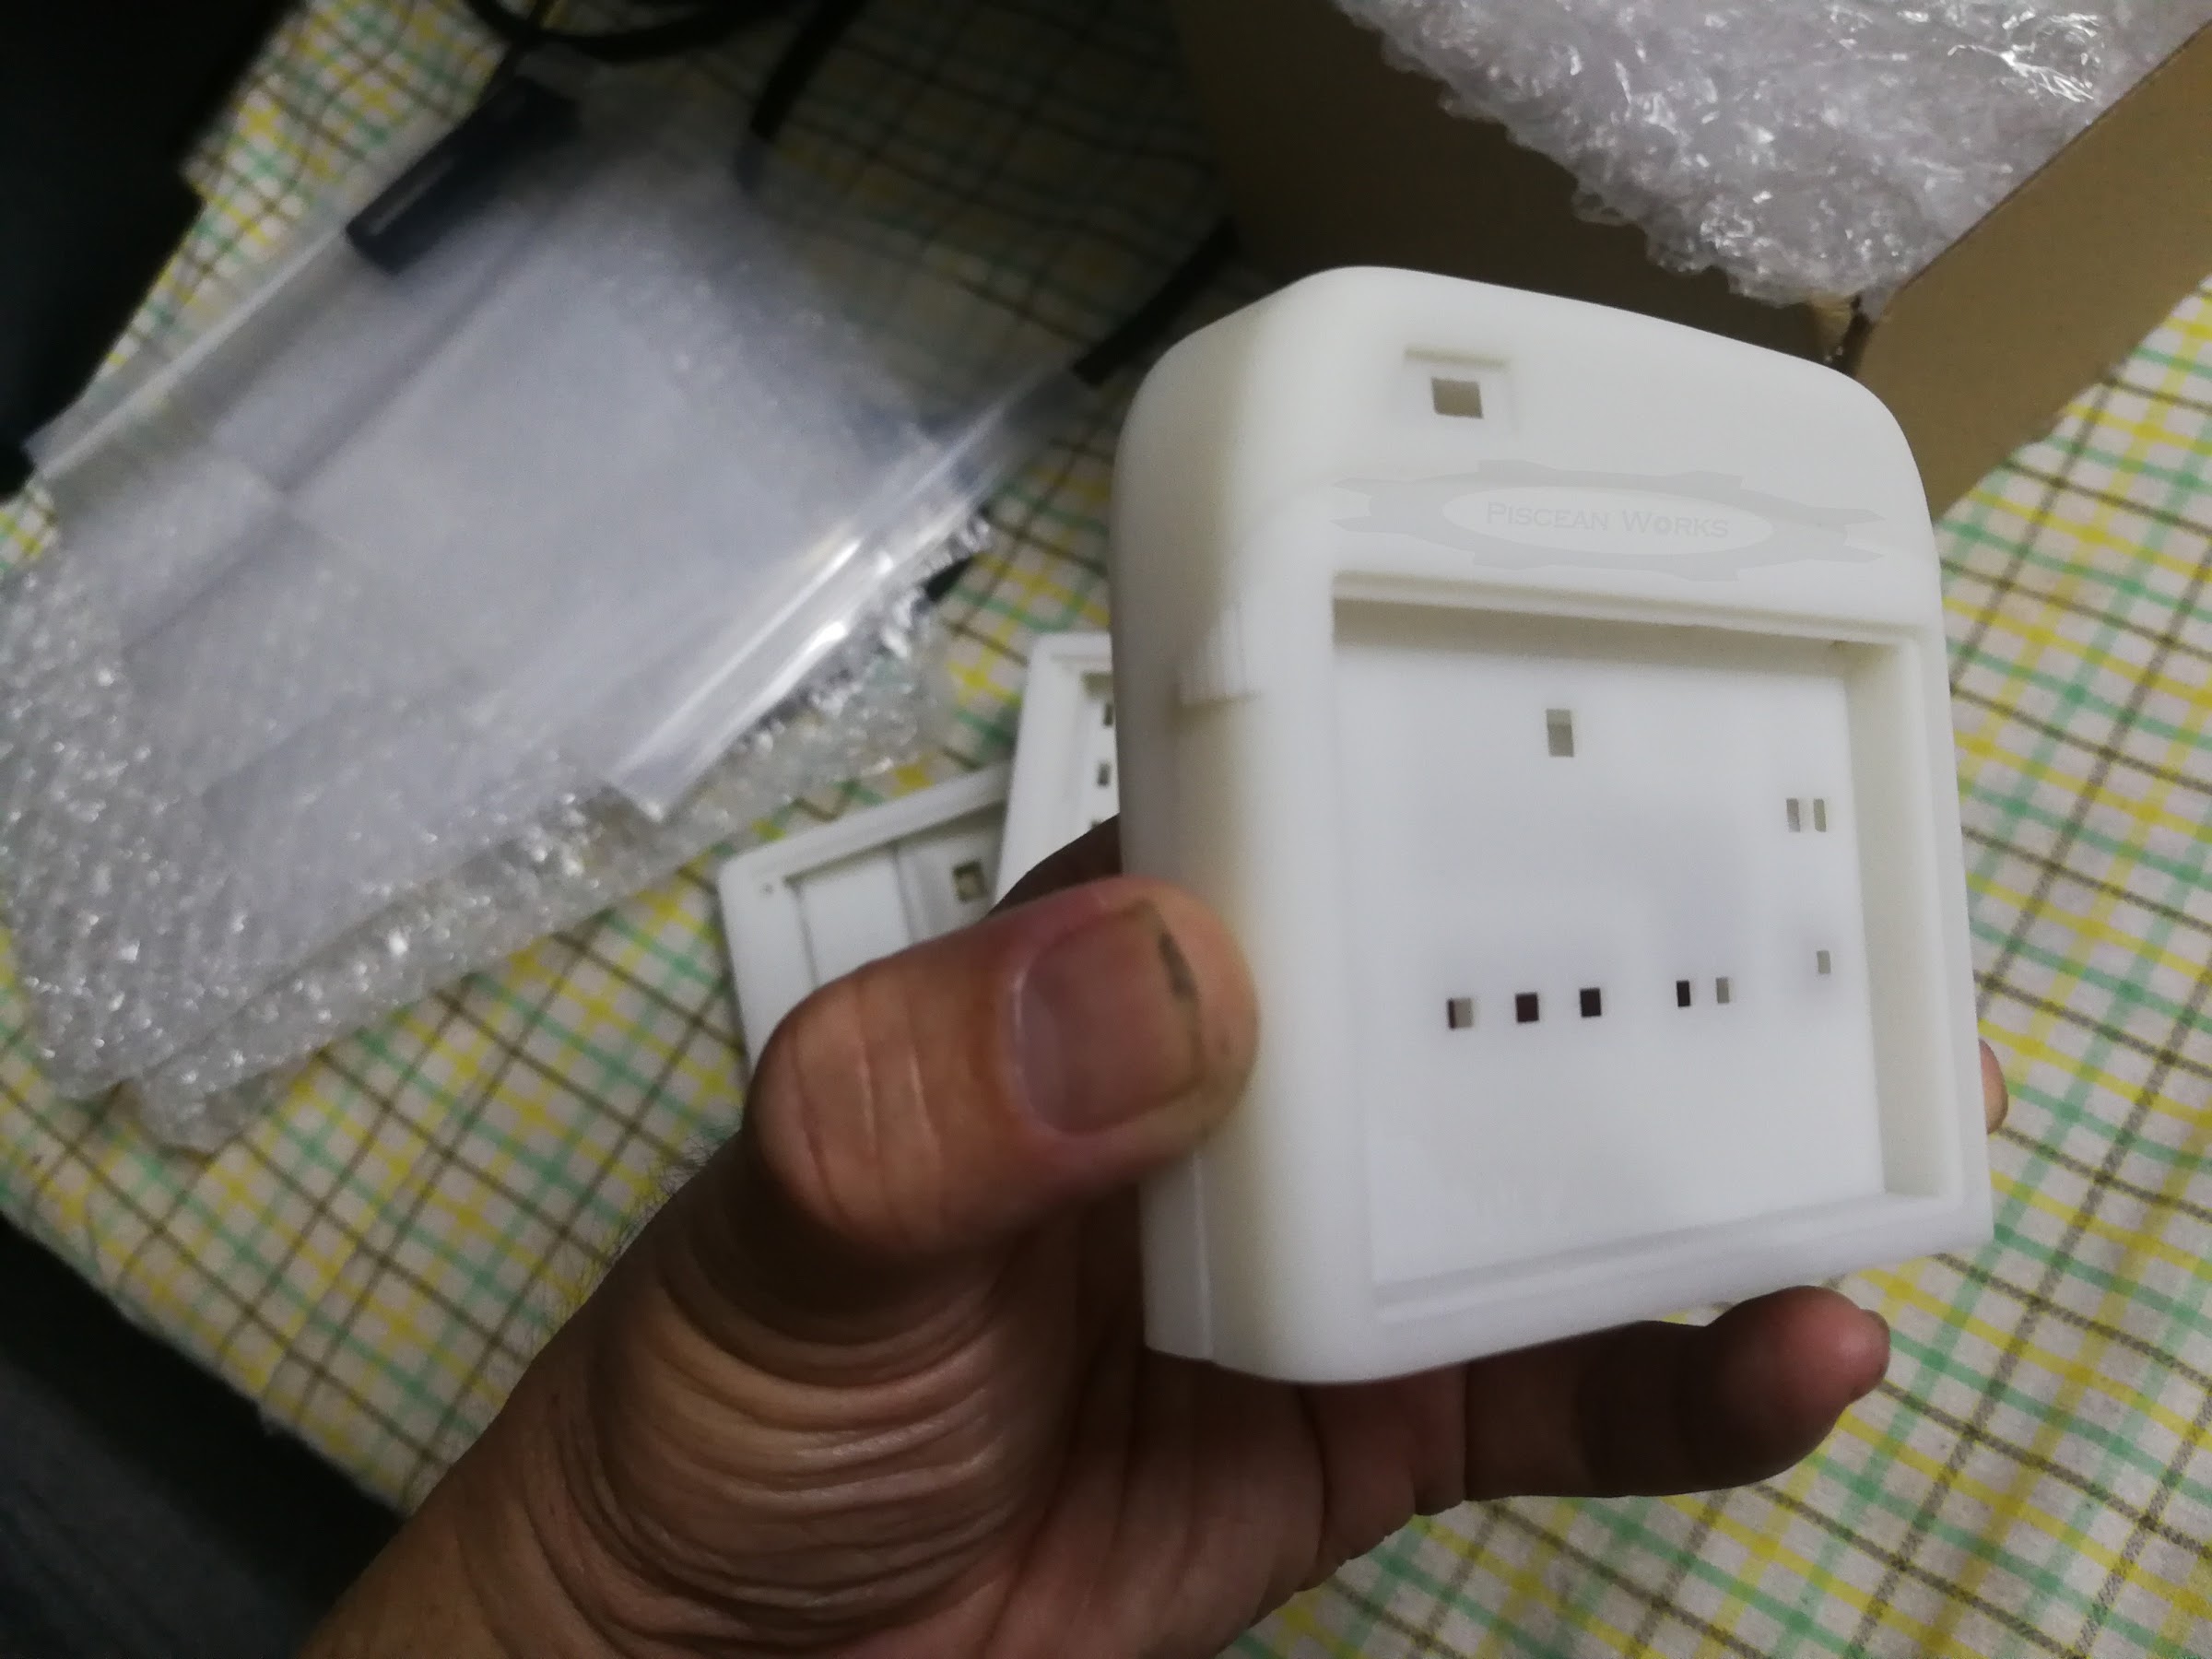
A package from China has arrived today and I was quite surprised since I did not order anything further. After opening the parcel, everything started to come back to me. These are the Tricorder 3D prints from JLCPCB! Last month, I had requested the MKVII and Mk OSX Endgame Tricorder shells to be printed in JLCPCB’s SLA resin. I chose the LEDO 6060 resin type, which is low in shrinkage, good yellowing resistance, moisture-proof and is heatproof up to 56ºC. You can get them to print in various materials such as in Stainless Steel but for the MKVII’s main body alone, it would set me back by USD81.20.
I will only know once these goes into primer stage, which is long way from now.
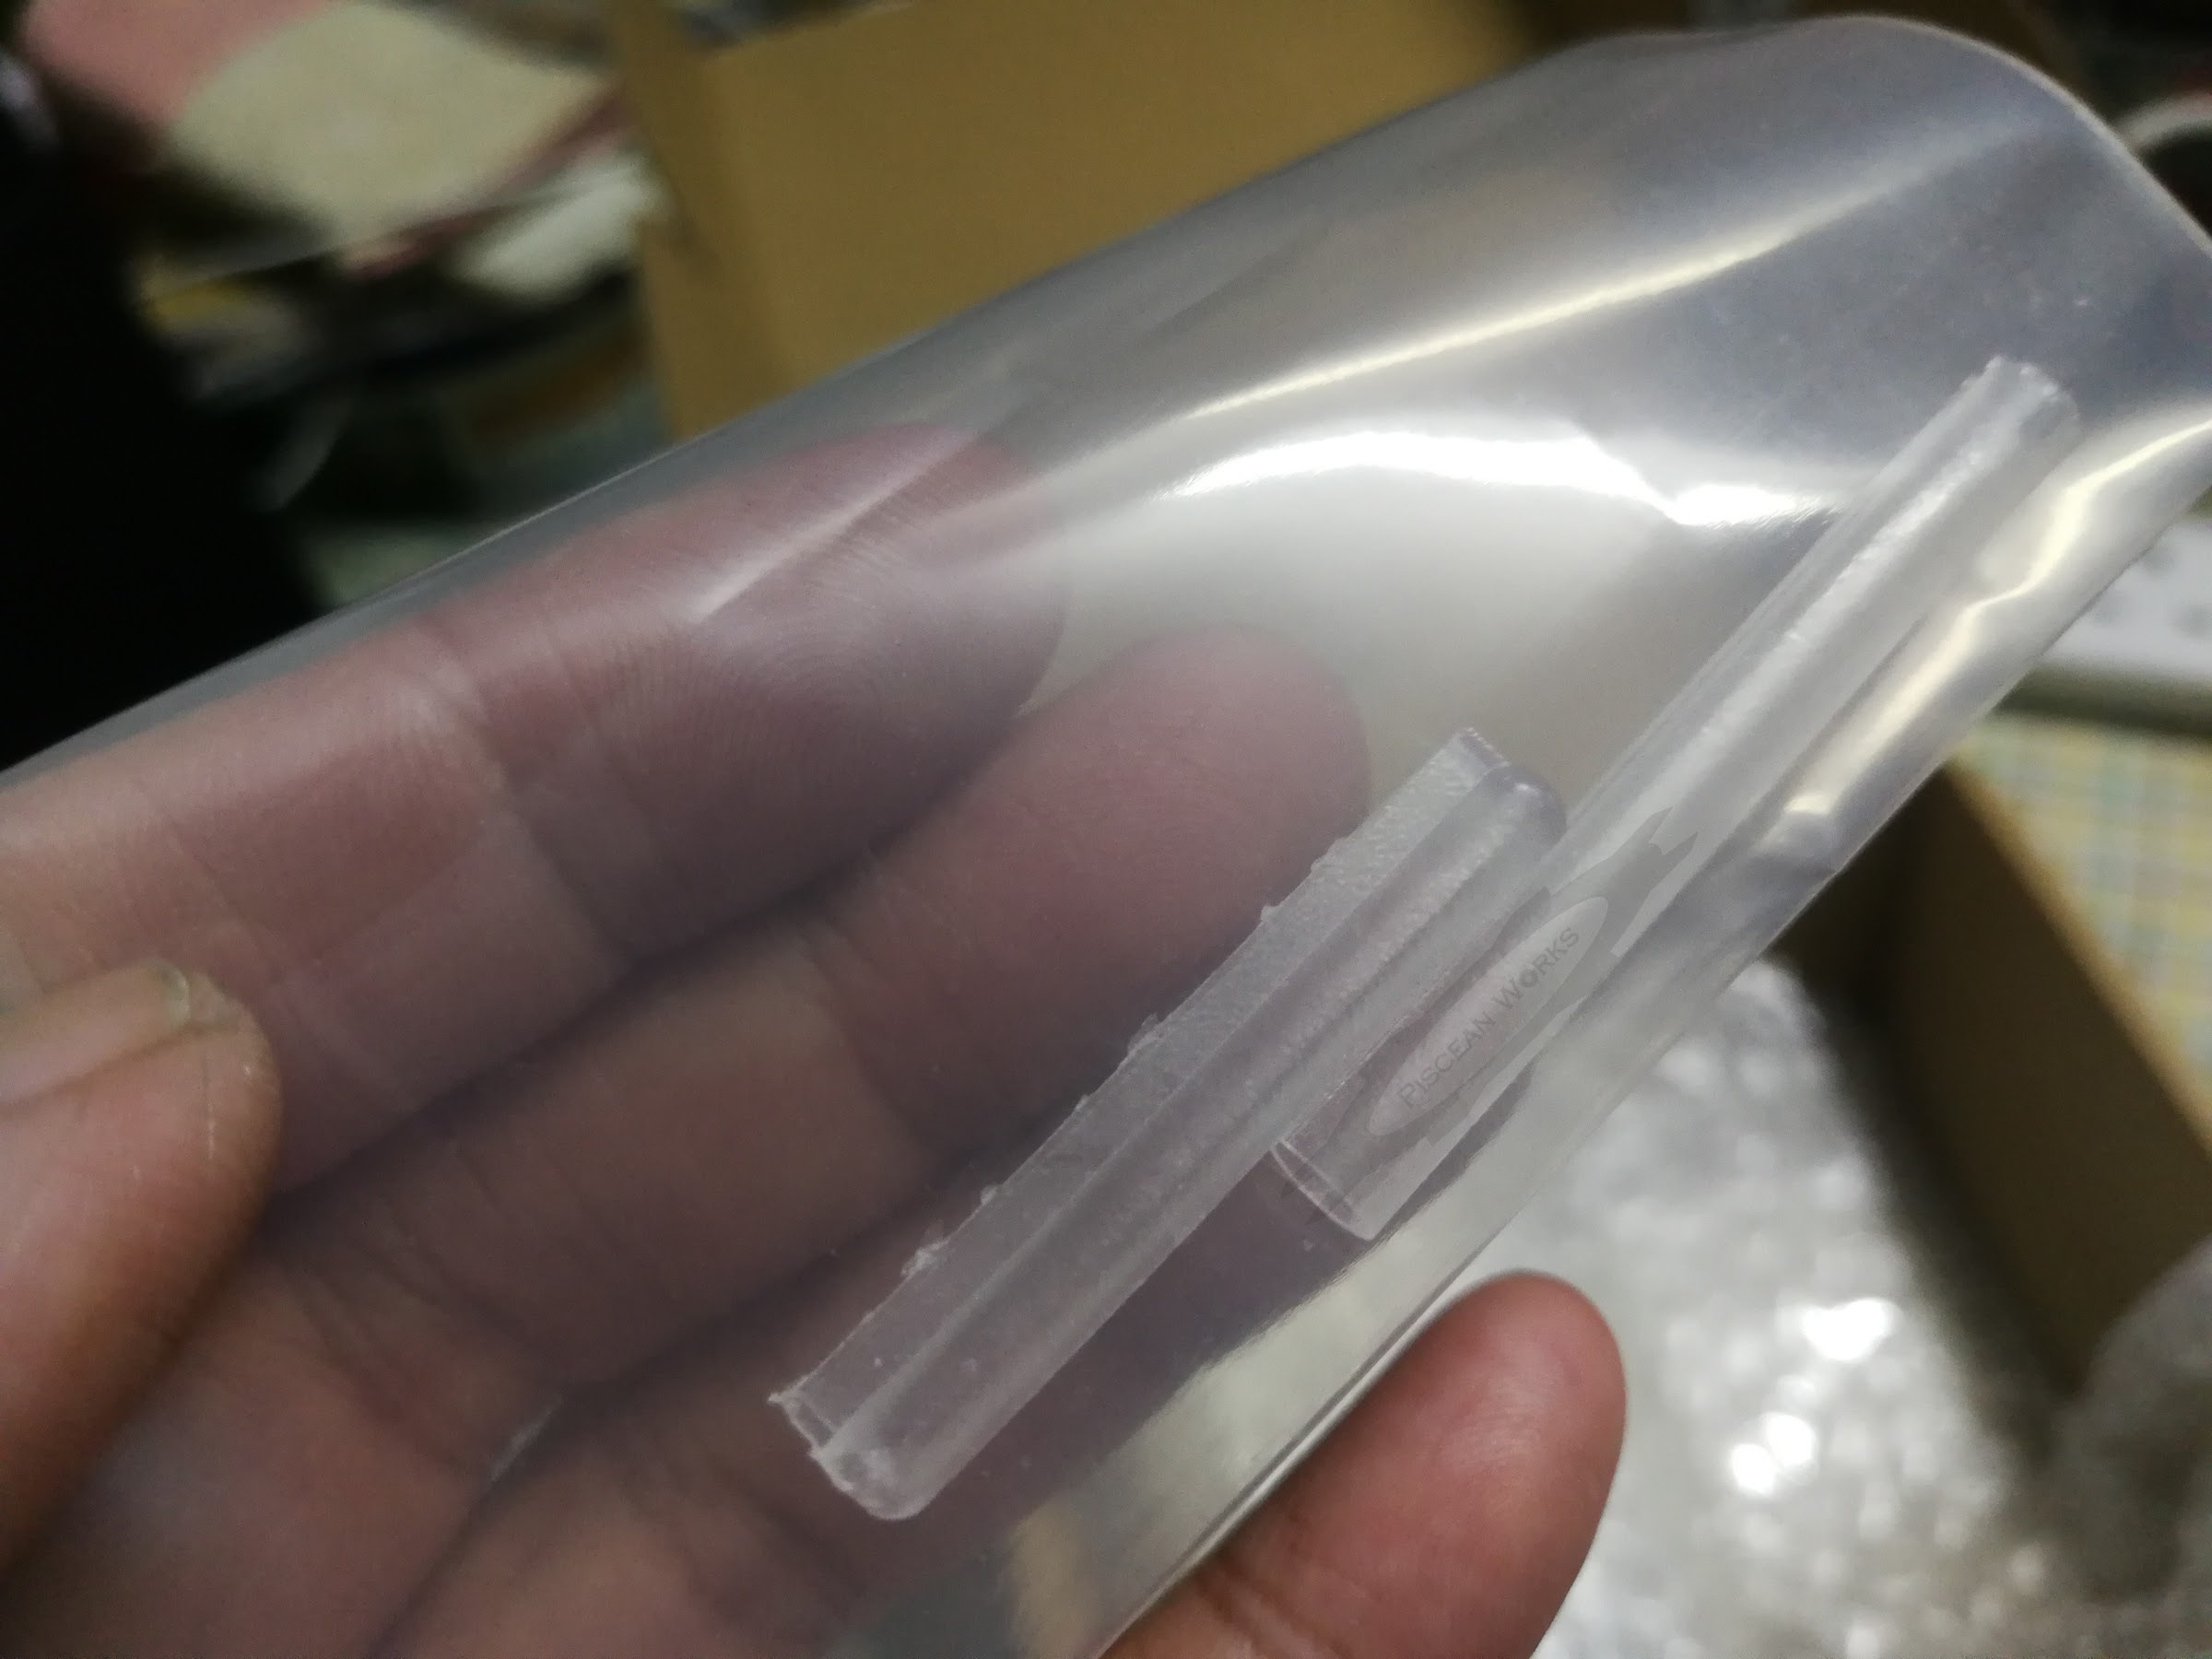
THE CLEAR PARTS
This time round, I decided to get some parts printed in clear as the option was available from JLCPCB since a few weeks ago. However, the first thing I have to admit is that these clear parts were not what I had anticipated. They are soft and picking up the pieces, I felt that I was holding drinking straws. So, my thinking of using 3D prints as master for resin cast still stands.
THE MKVII TRICORDER AND MY DECADES OLD PROJECT
Ever since I was exposed to Star Trek: The Next Generation in the early 90’s, I really wanted a Tricorder. And luckily, at that time, I was able to get my hands on Playmates Toys MkVII Tricorder. Although it felt and behaved like a toy, it was my very first MkVII! Later, during the infancy of the Internet, I realised that Tricorder kits were available but requires a specific skillset which I do not have. For example, the Roddenberry version uses vac-form methods to form the Tricorder shell.
Even for a pre-Uni guy like me, I know there is potential to modify the Playmates MkVII. It was not until after I graduated and started my career that I realised WHERE I am, the technology to create lights and sound was a challenge. The prototypes were bulky and it was really impossible to fit everything into that toy, even if I decided to have the batteries outside. From TheRPF, I got one of gmprops’s earlier upgrade kits and oy, I was blown away on how he solved the problem.
It was my first lesson from him about using surface mounted components which alas, was not readily available in any Malaysian electronics shops. Furthermore, it was almost impossible to have a circuit board professionally made and at a reasonable price too. Fast forward three decades later, the technology is common now. But my main challenge were sounds and animated screens. Still, that does not stop me from getting closer to my Dream.
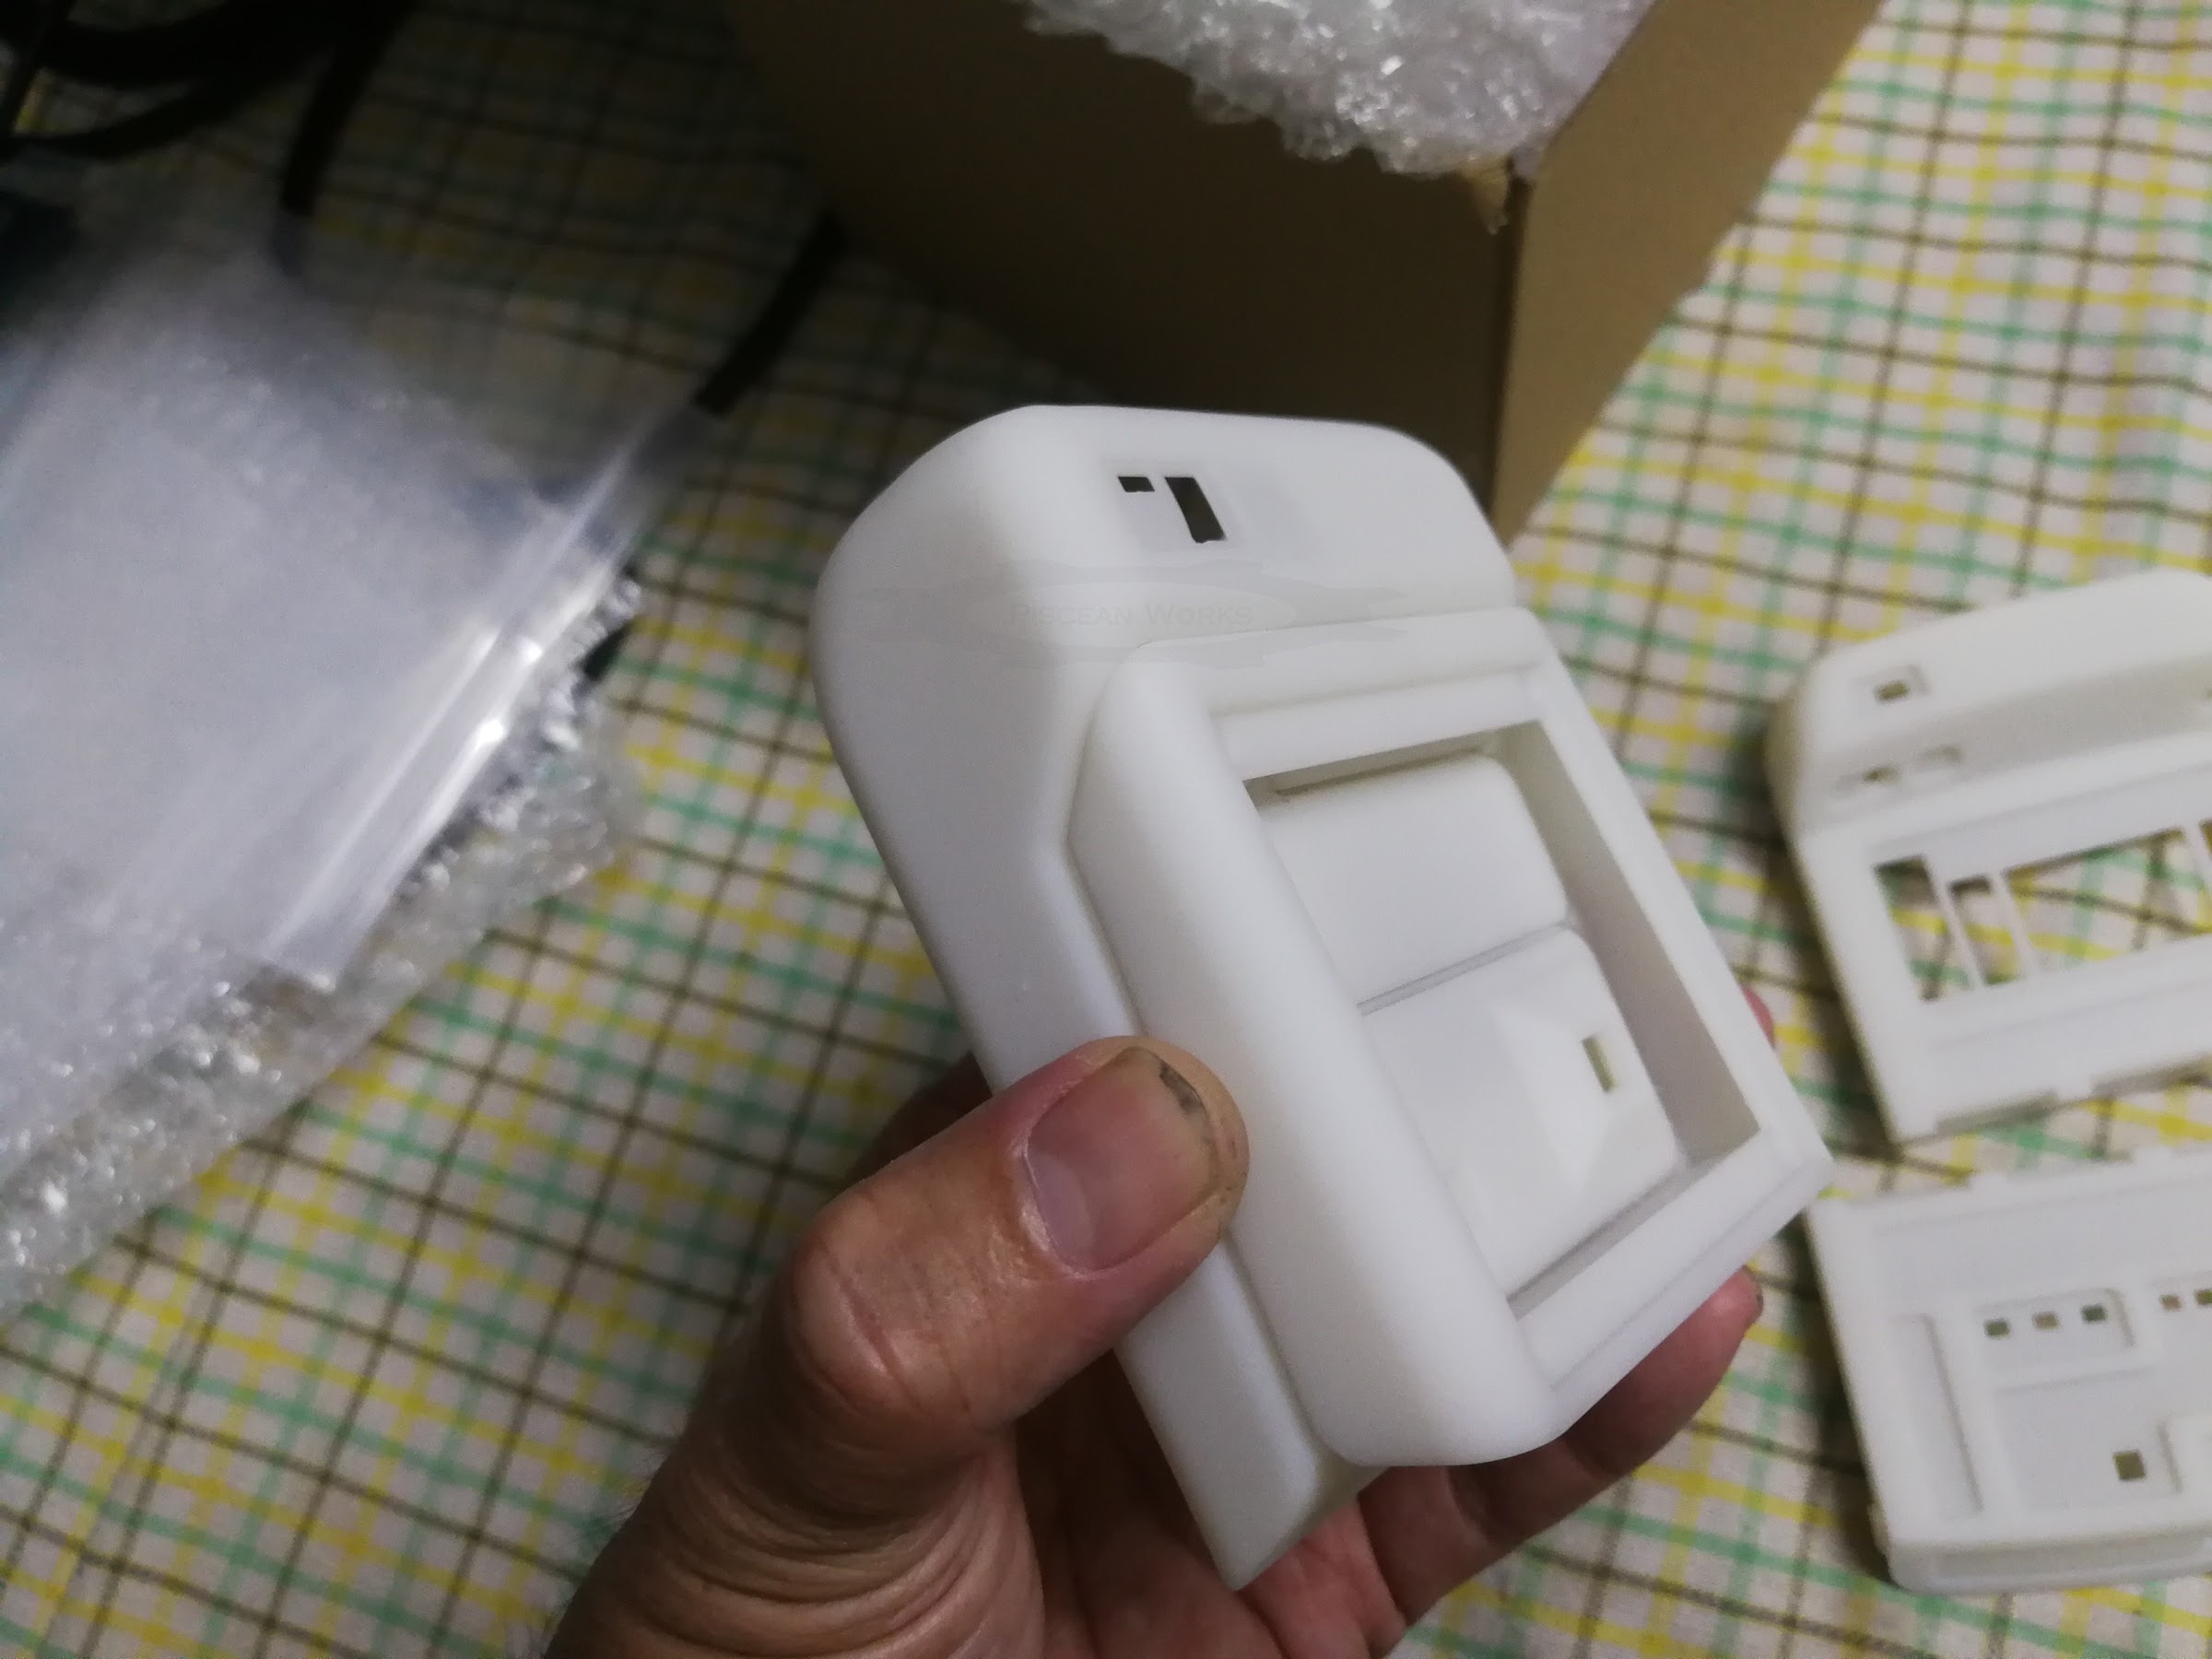
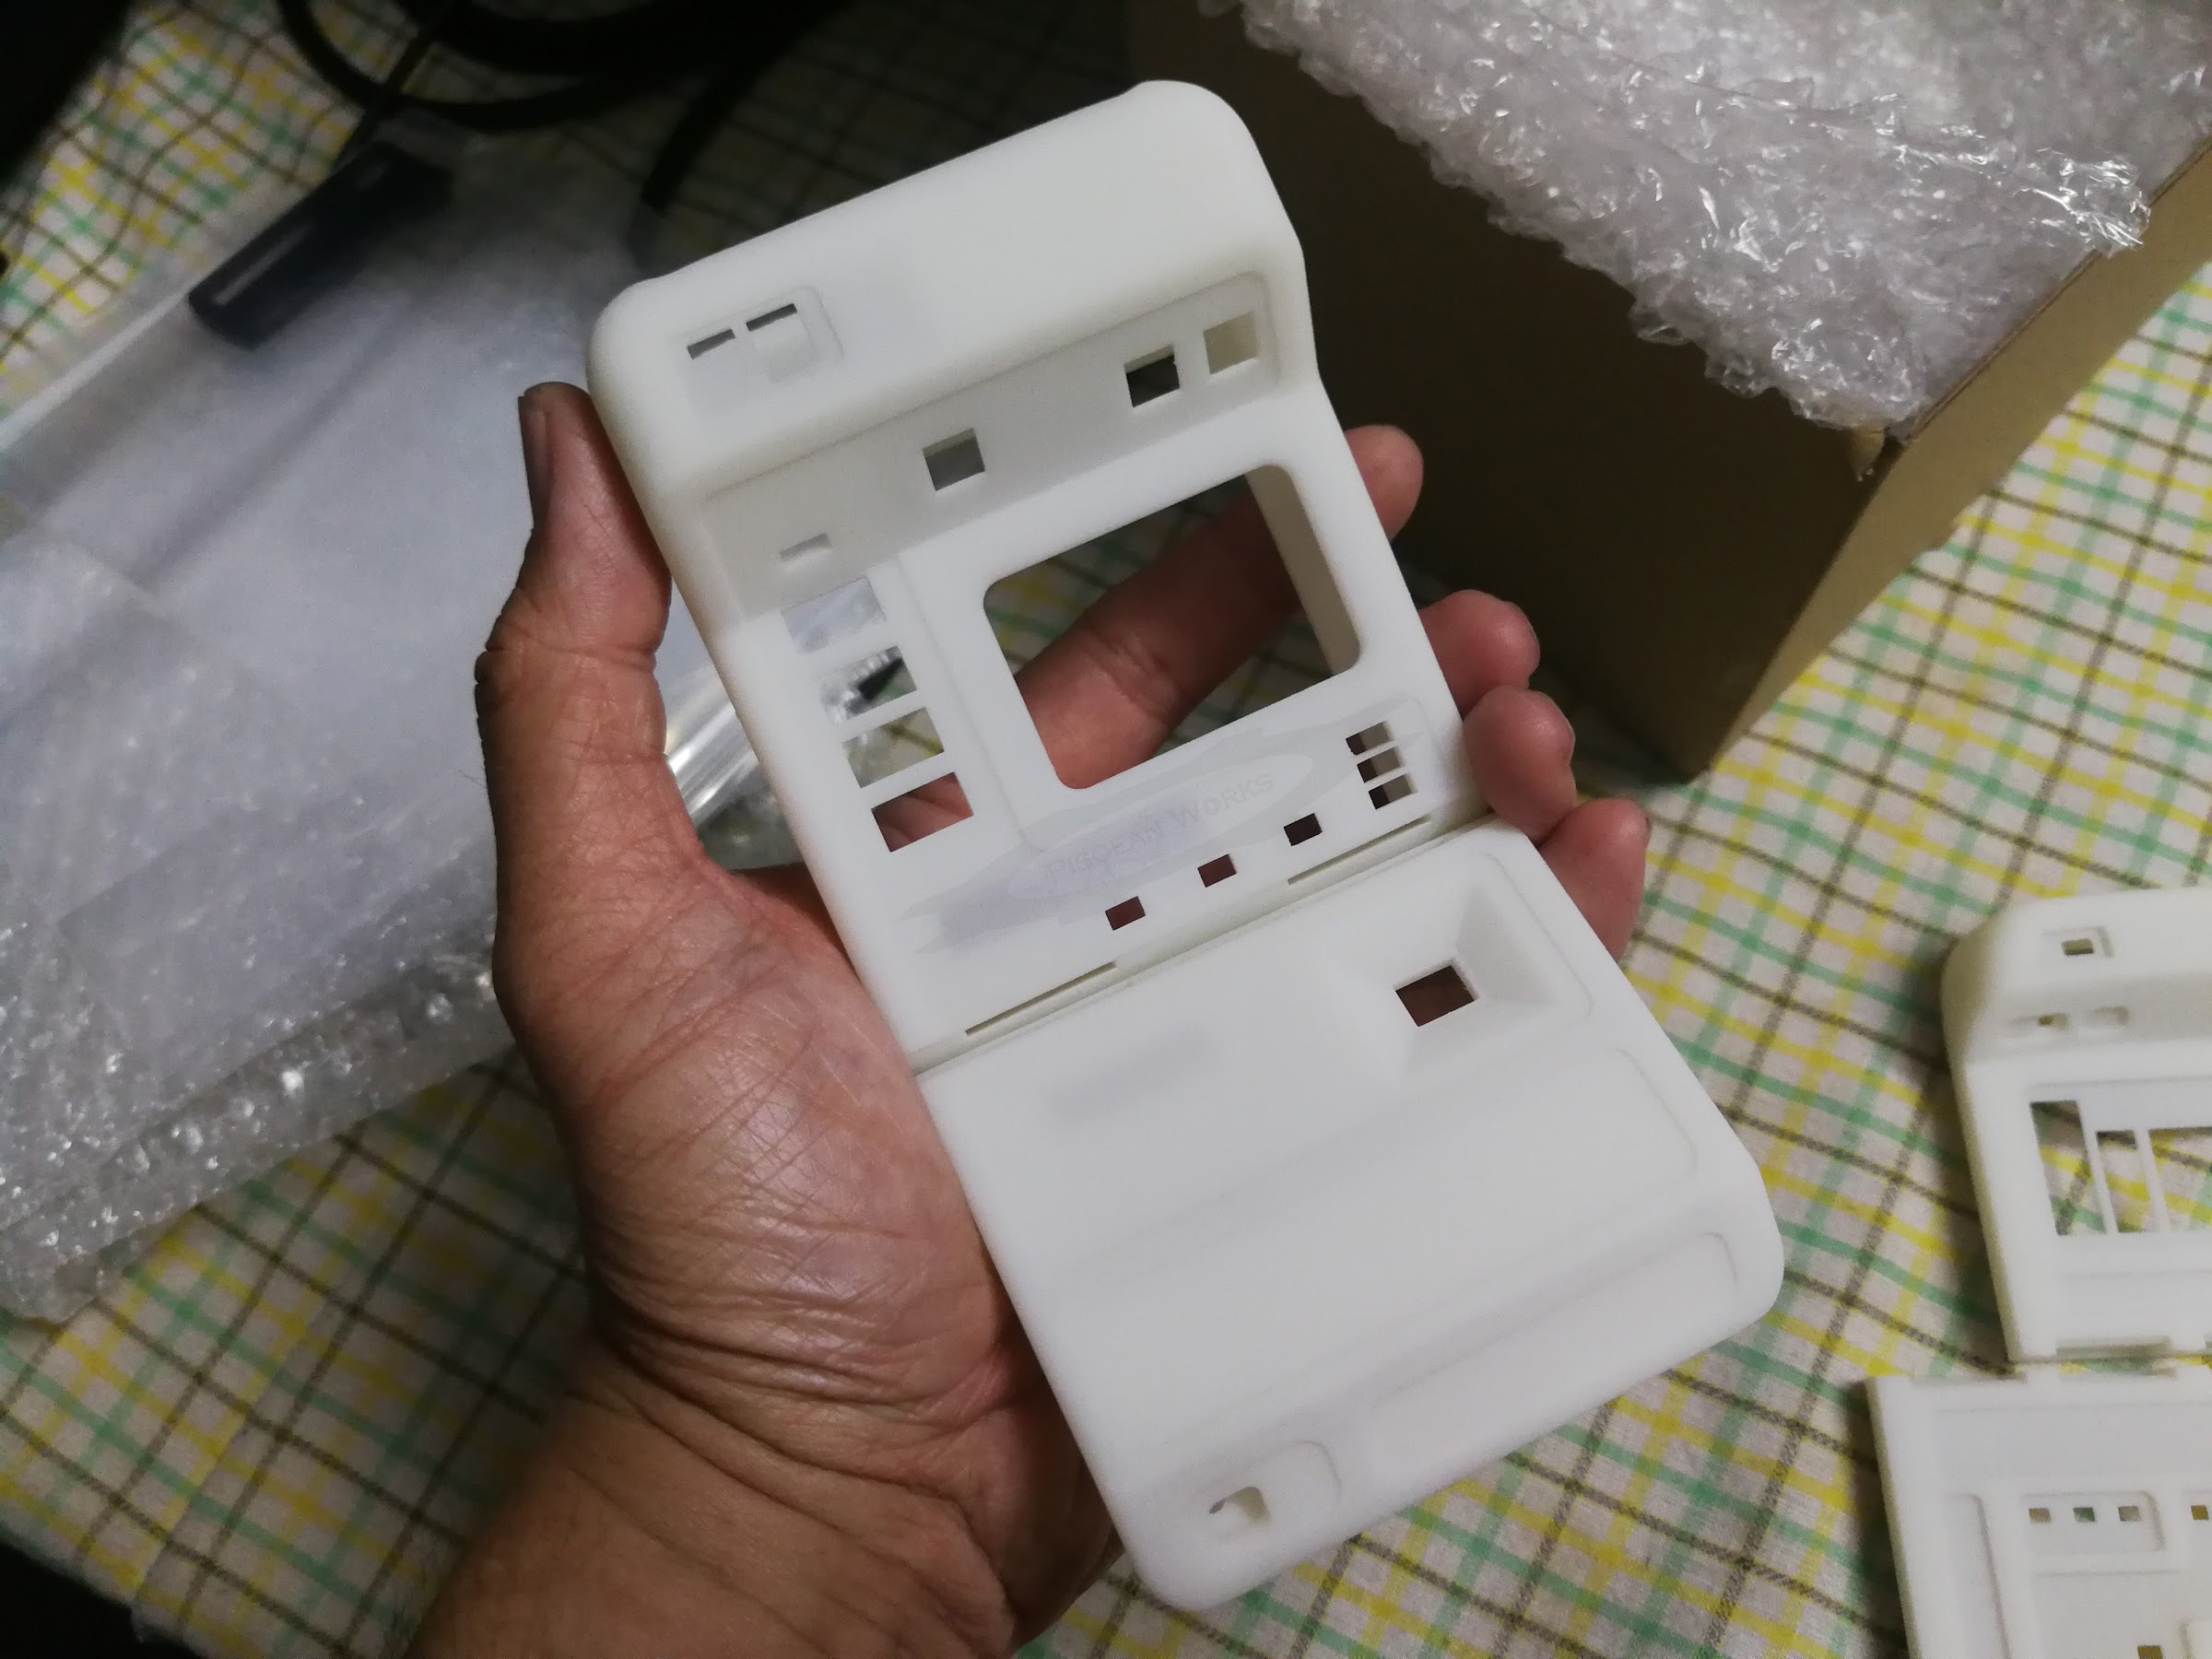
THE MKVII SHELL
Then this .stl file from Mr. Dino Ignatio aka dinoi appeared in Thingiverse. As I have not seen a Stapleton up close, it is also not fair to compare this with his or even the original prop. What’s more, the 3D files are free to download and is ready for PropFX’s electronics (made by Gerry Mros aka gmprops). So, yeah, it is a Win-Win situation if you want a MKVII that has lights and sound. And there is a matter of decals for the kit which is a question mark.
For now
, I just want to have a flippable Tricorder to play with any time of the day, with or without any painting or electronics.
THE ENDGAME SHELL
Next up is the Endgame Tricorder from UnimatrixRed. At that time of the show, this was the ‘busiest’ and ‘fastest’ Tricorder in Star Trek. It is more compact but when I compared it with the 3D MKVII, the width is almost the same. I still have the Roddenberry kit somewhere in the stash. Still, when I am free, I want to have the electronics in it.


LET’S EXPLORE A LITTLE
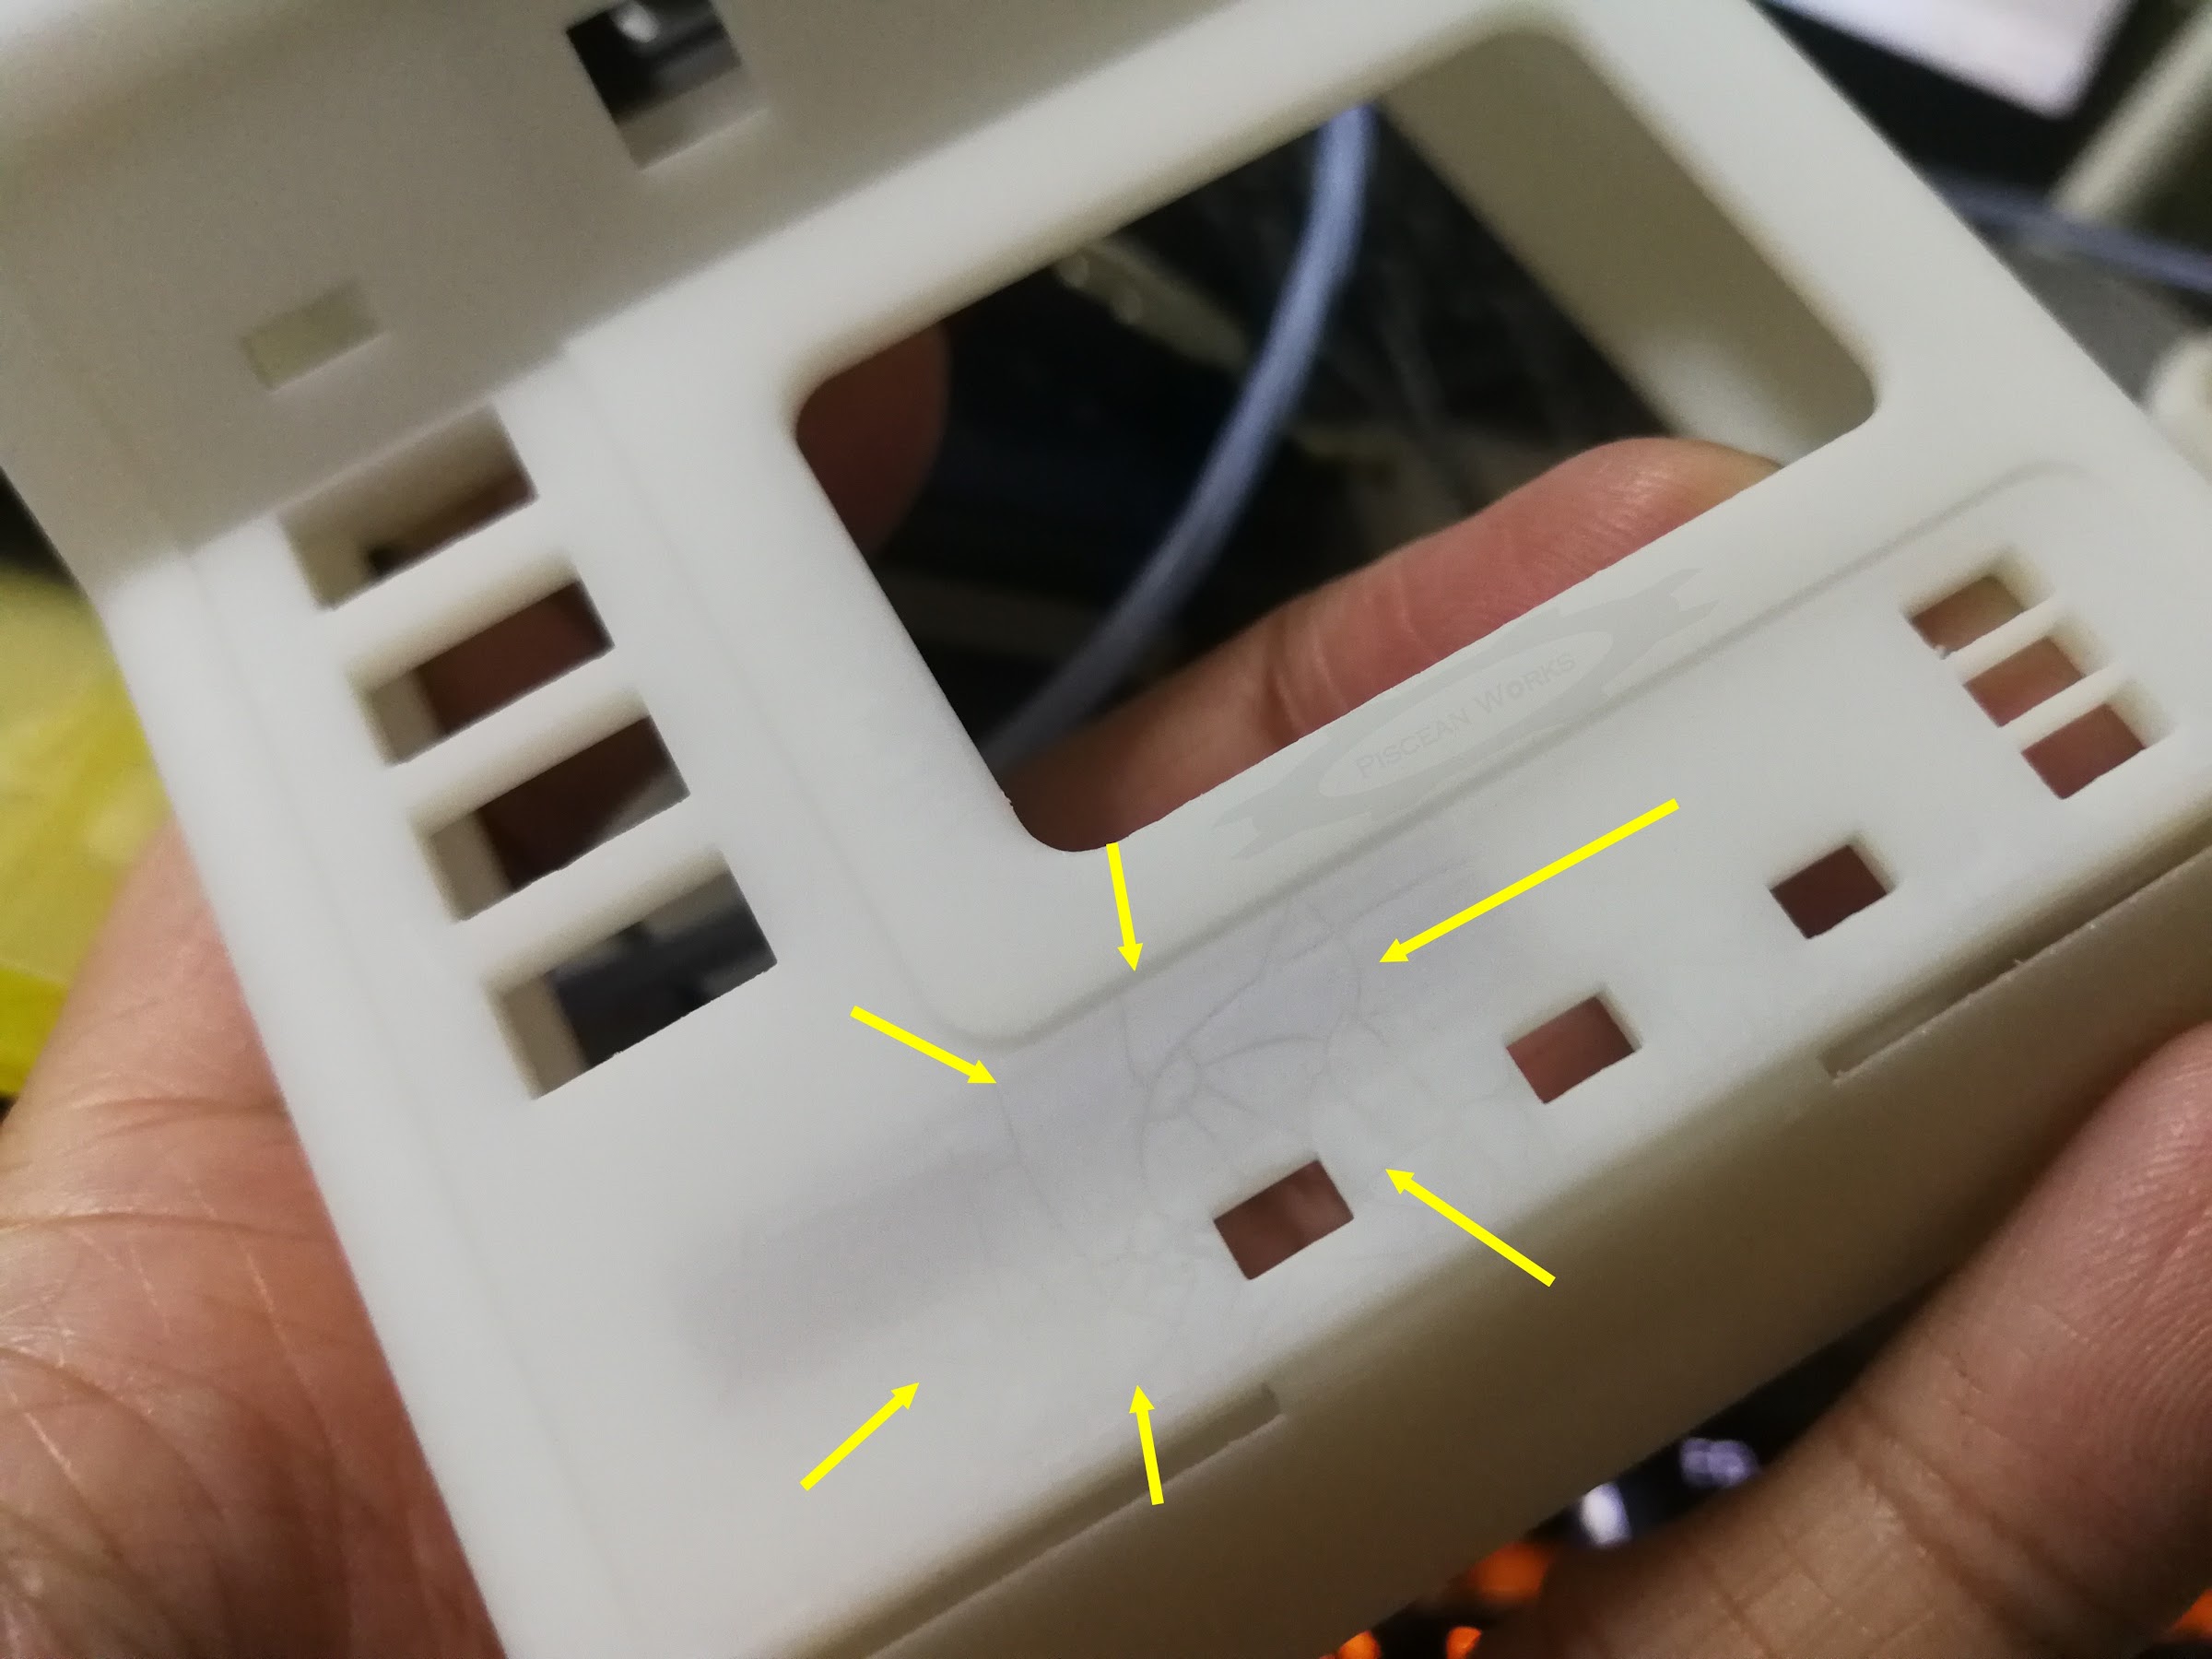
As mentioned, Mr. dinoi’s 3D MkVII was ready for PropFX’s electronics. And so, the MkVII shell was really prepped for this. All you need to do is to, I guess, is to print the Tricorder and make it light leakproof, then insert the circuit boards, screws, magnets and finish it off with paint. Simple, right?
But I have my own reasons for this MkVII mainly because the custom LEDs I ordered decades ago sat unused…
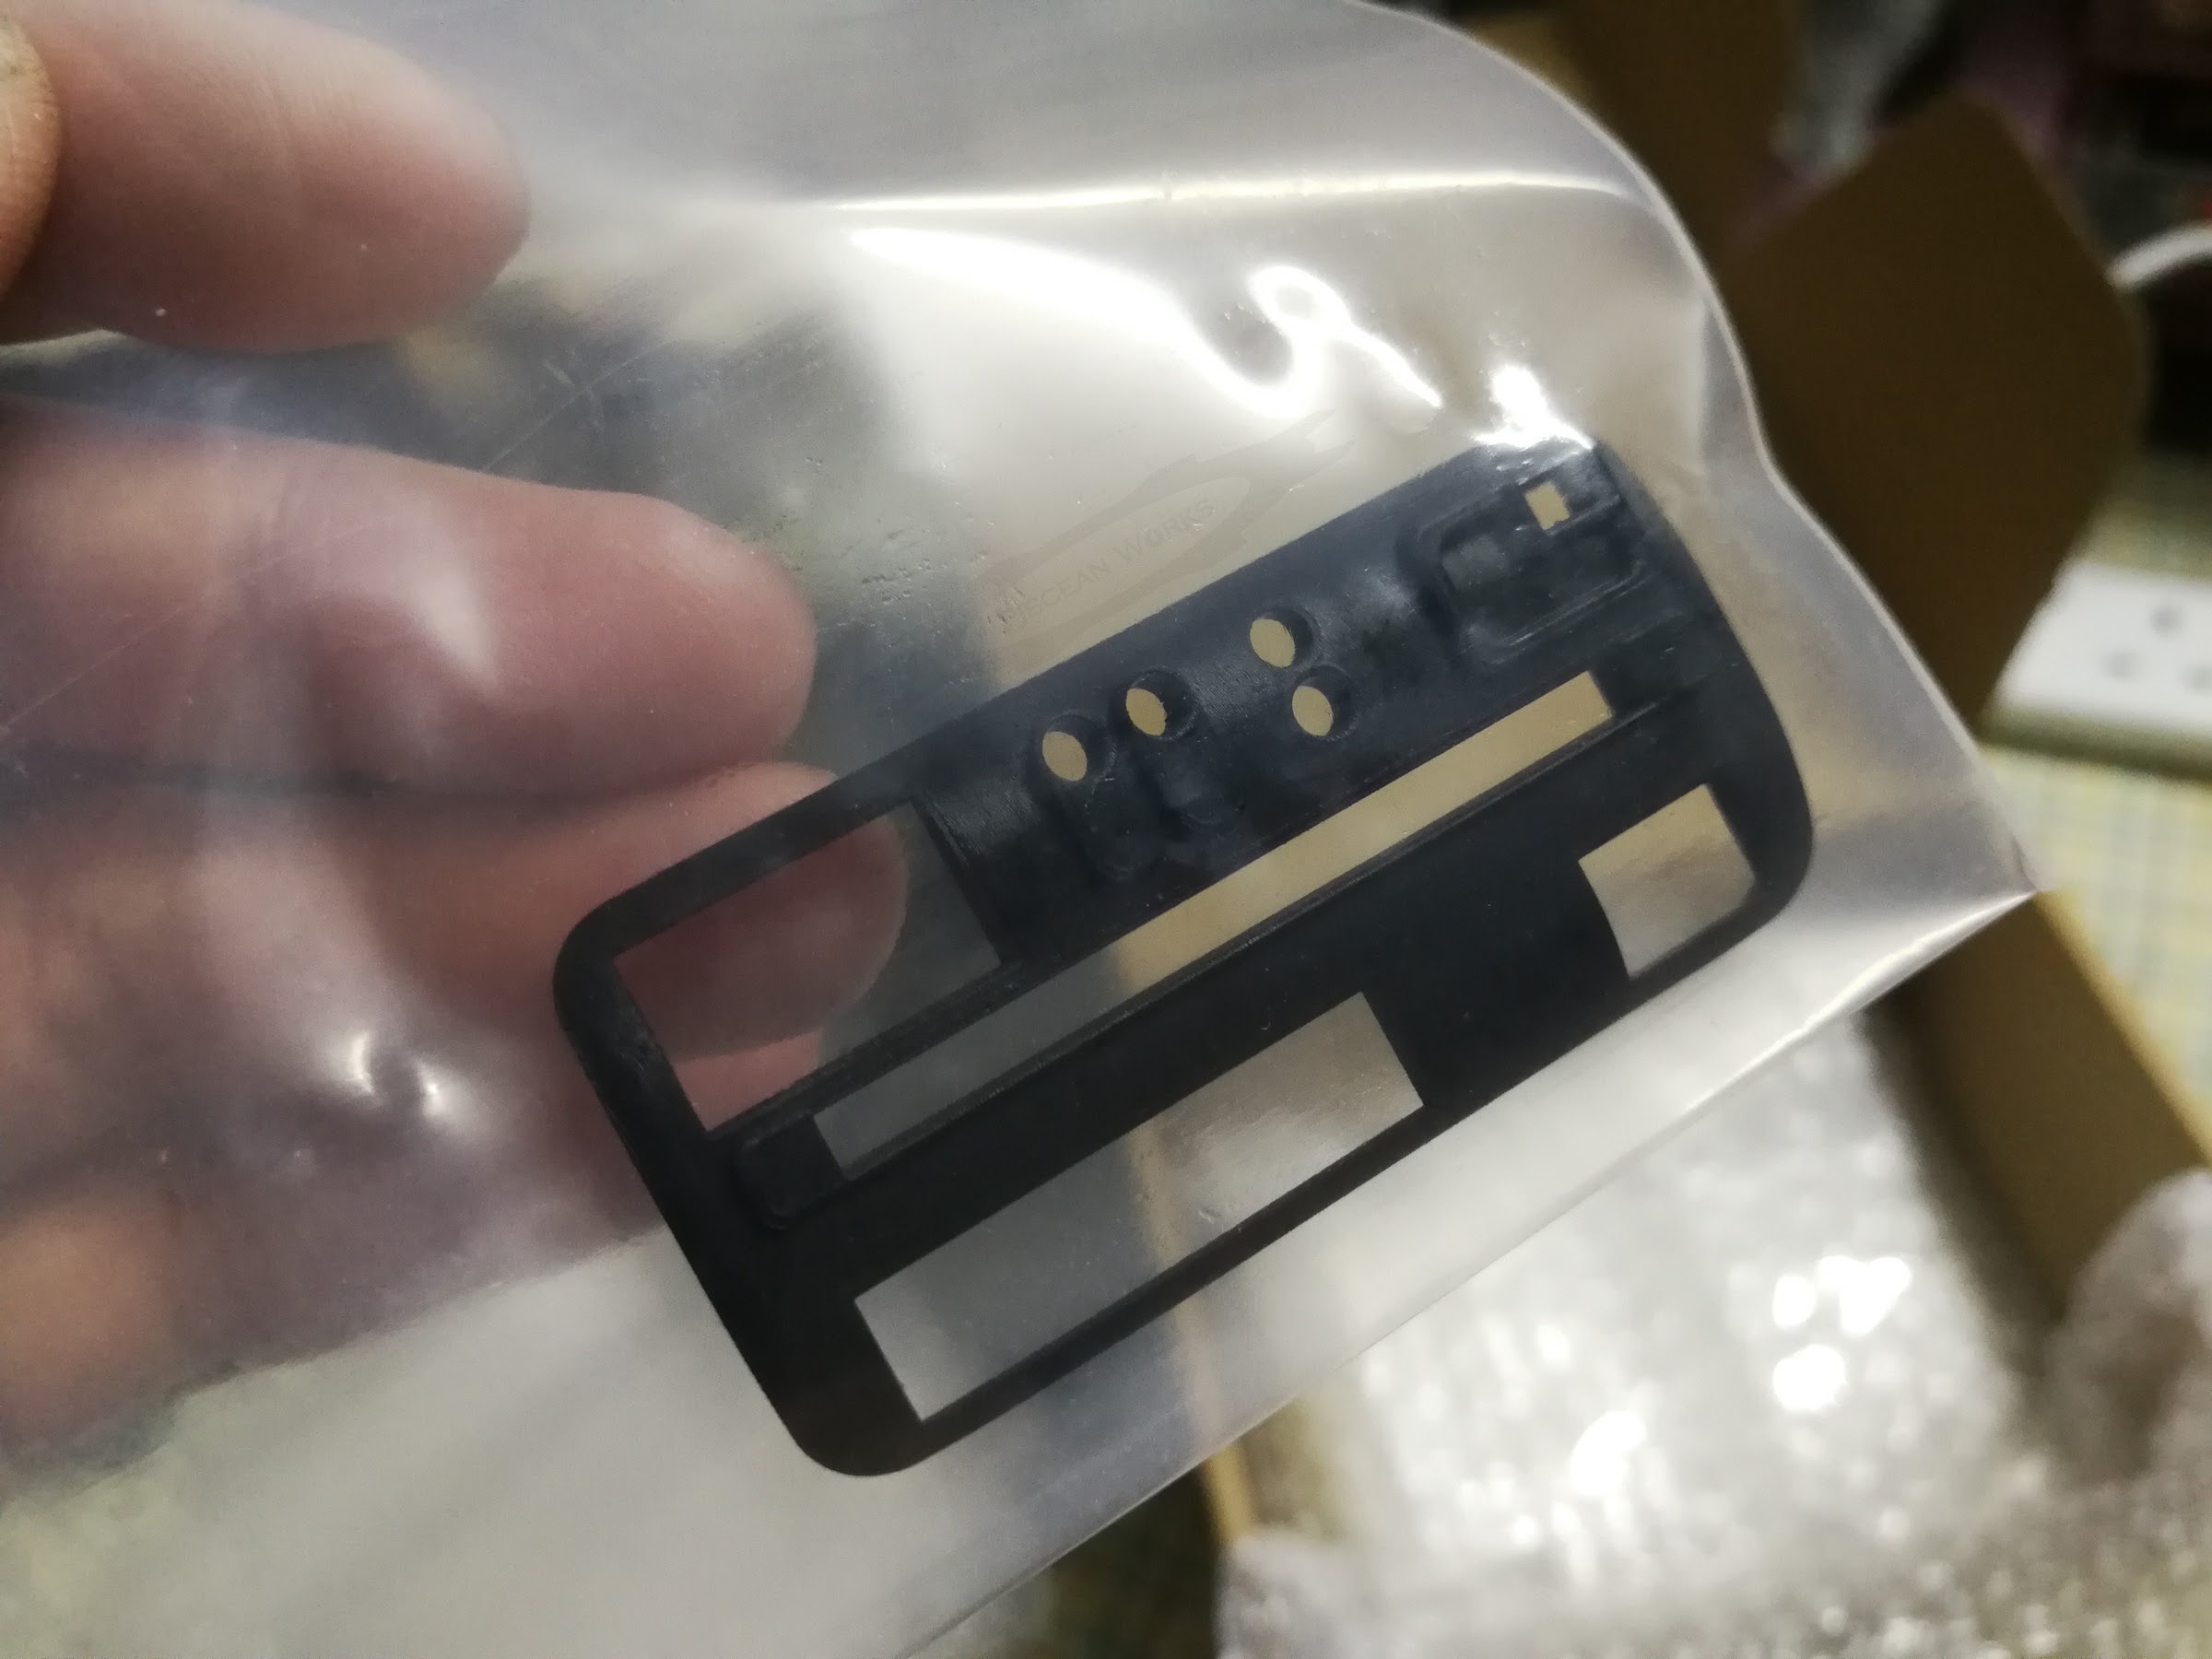
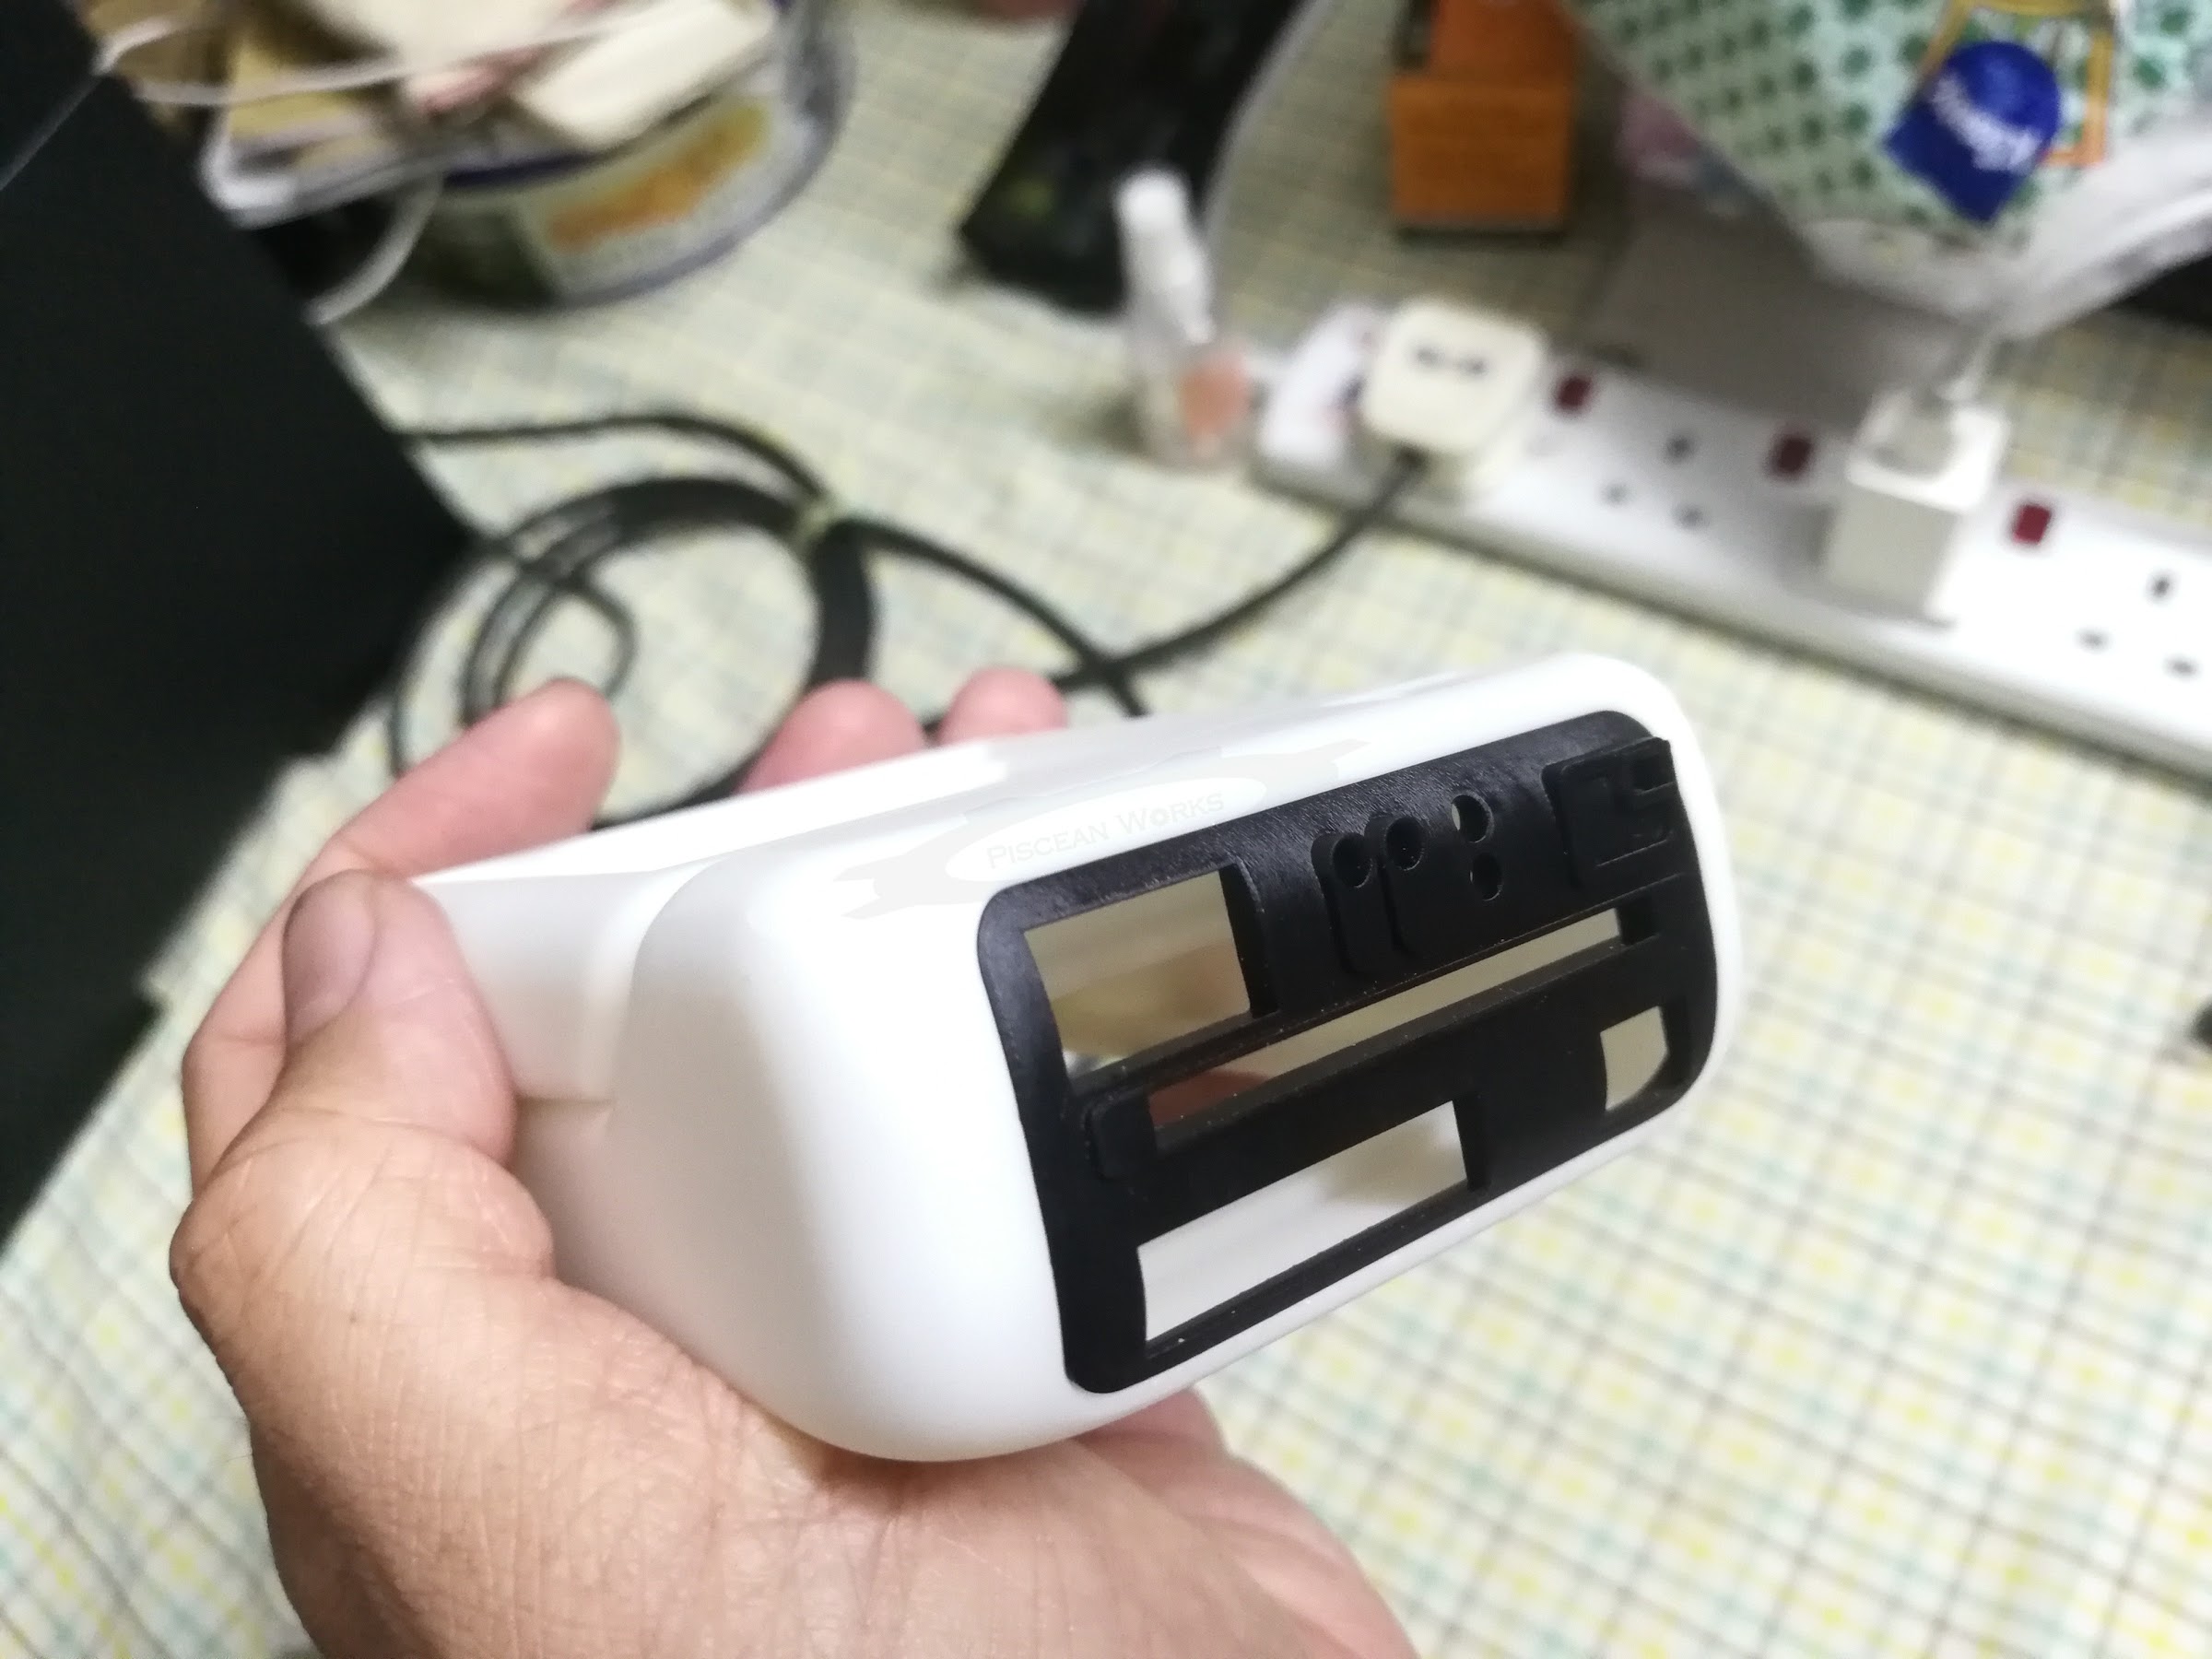
THE FRONT SENSOR
In most MkVII Tricorder kits, this front sensor was part of the main body shell. So the black area was either painted on or have a decal. However, for Mr. dinoi’s design, the sensor array was a separate piece. So, I got it printed with SLA resin’s Imagine Black which (I hoped) is literally light leak-proof already.
READY FOR PROPFX’S ELECTRONICS
As I sat here on the table, looking at the shell, I am still amazed at gmprops’s ingenuity on the electronics.
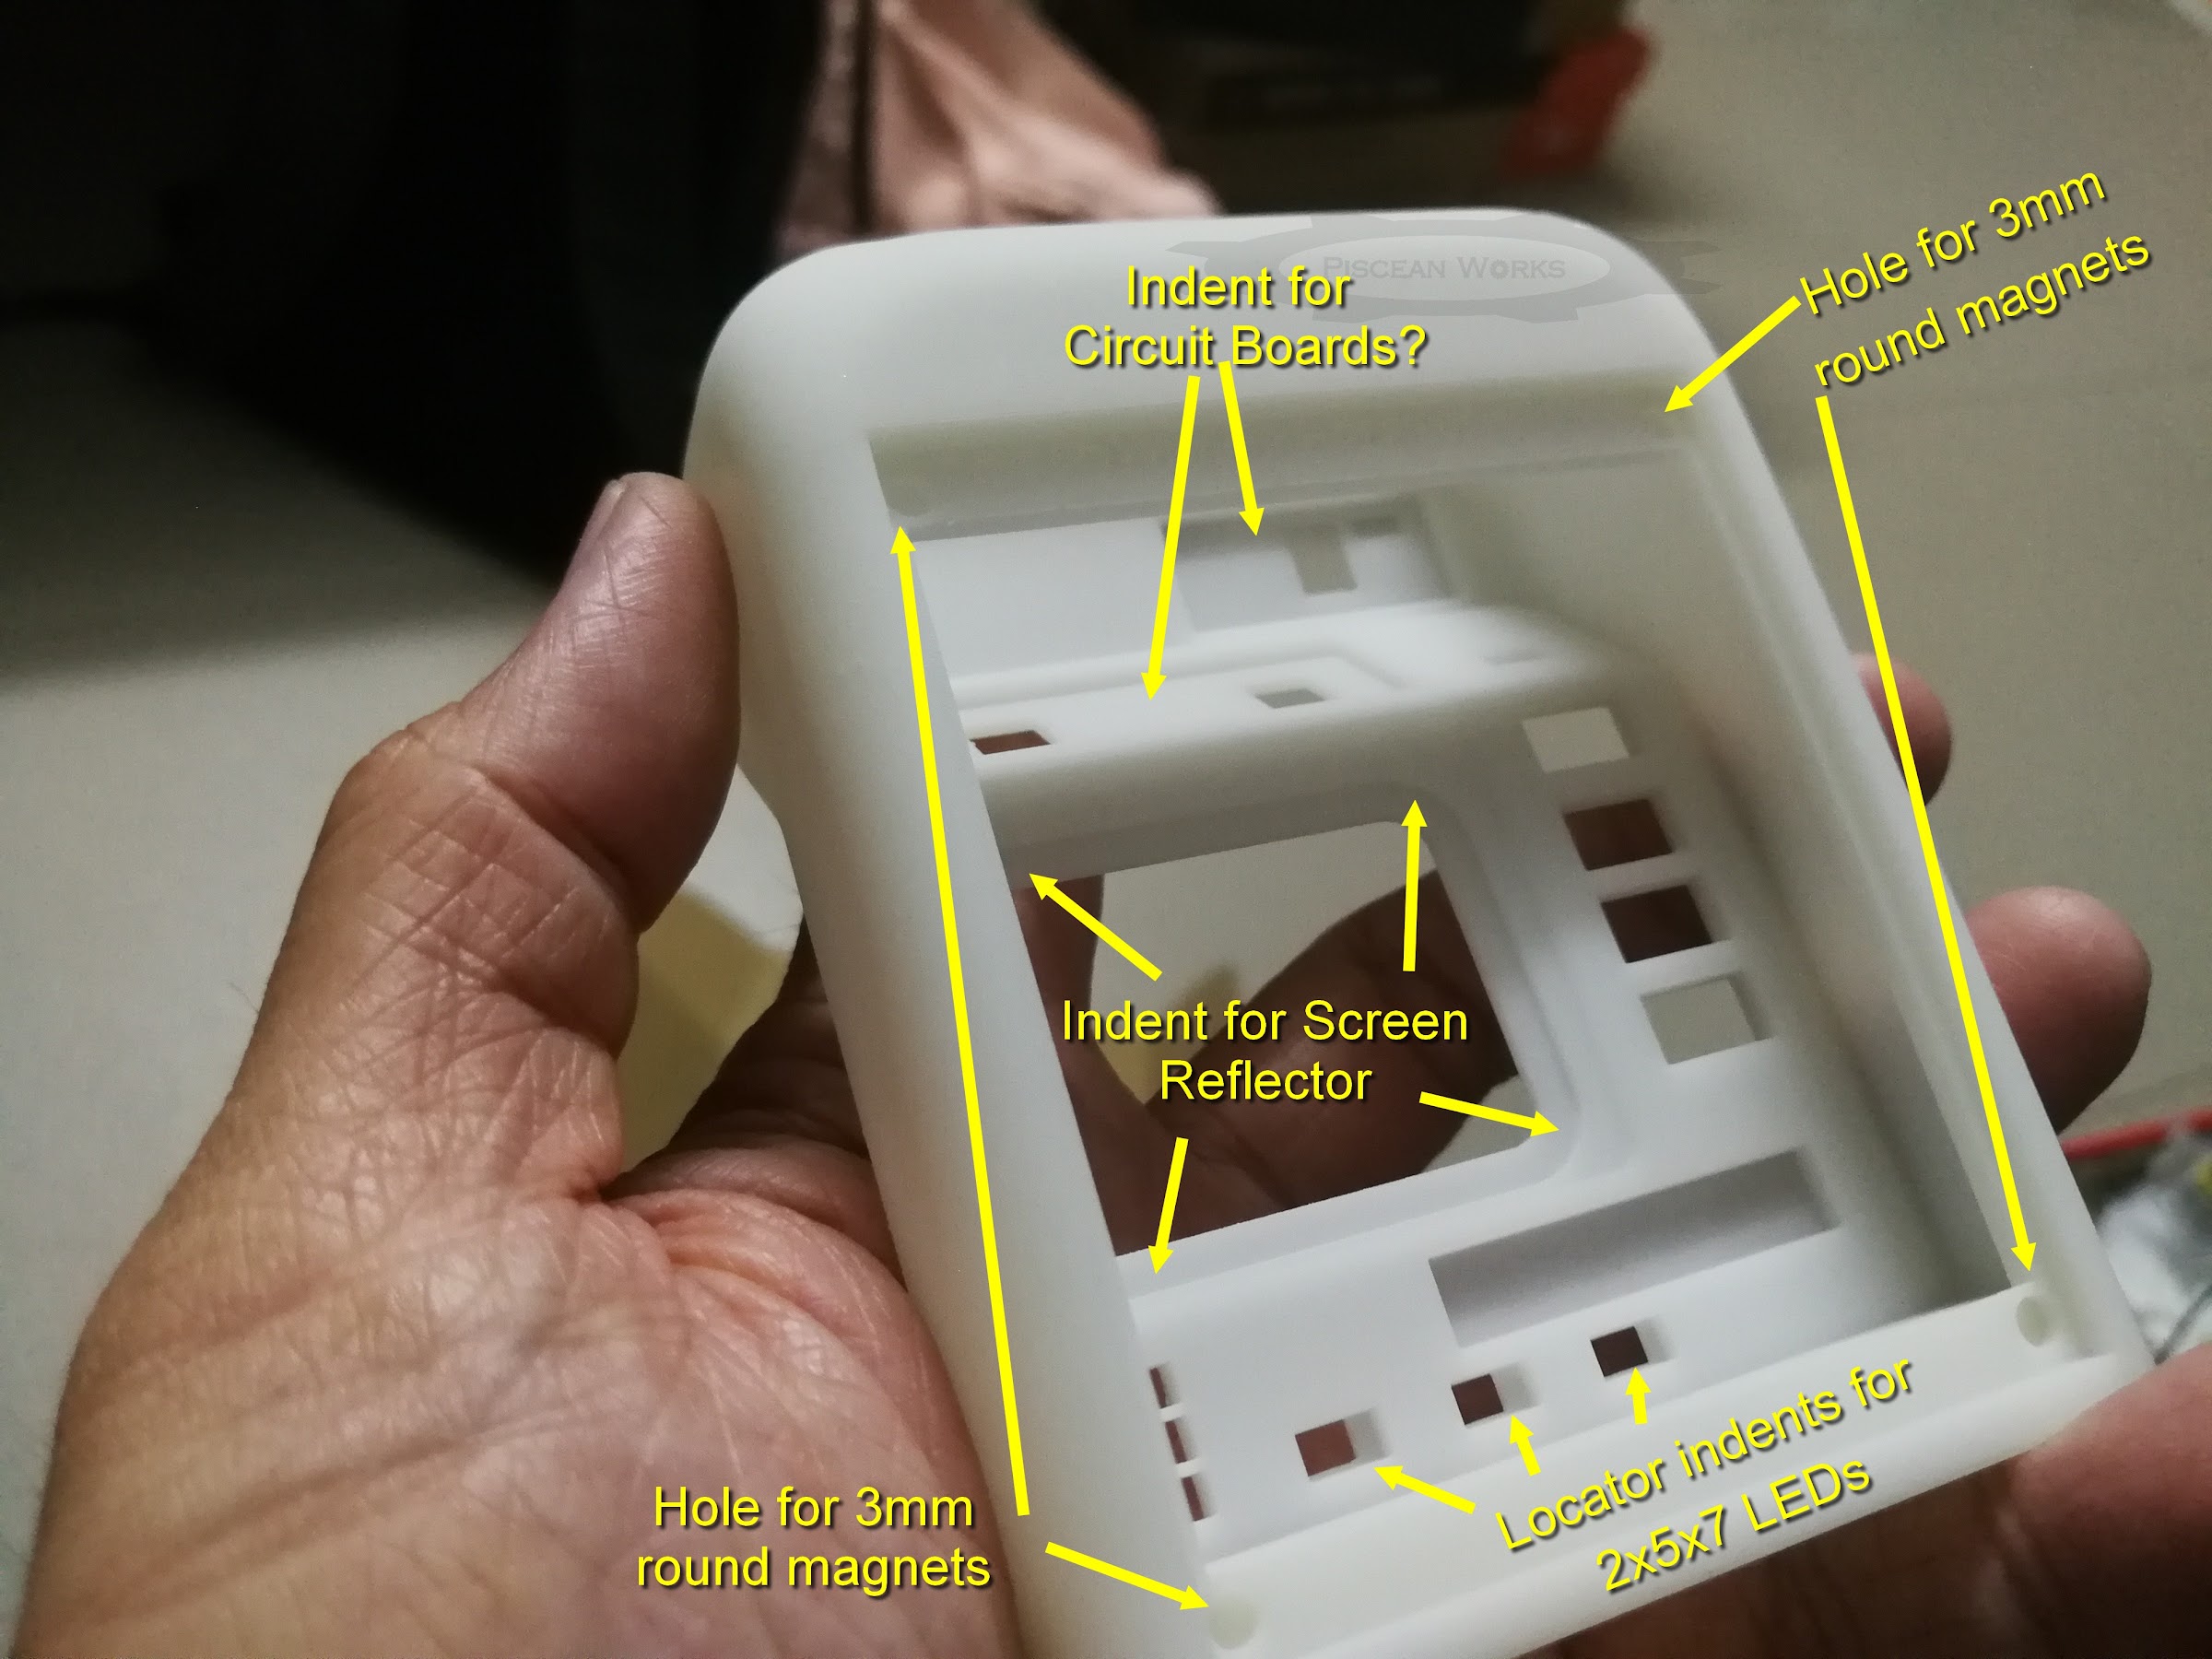
The design on the shell uses magnets to hold the enclosure instead of screws. Another set of magnets were used to activate and operate the Tricorder. So, if you want to see how it is all done, here is the YouTube video apart from the ones in Thingiverse:
LINKS to 3D Files:
dnioi’s MkVII Tricorder
UnimatrixRed’s Endgame Tricorder
