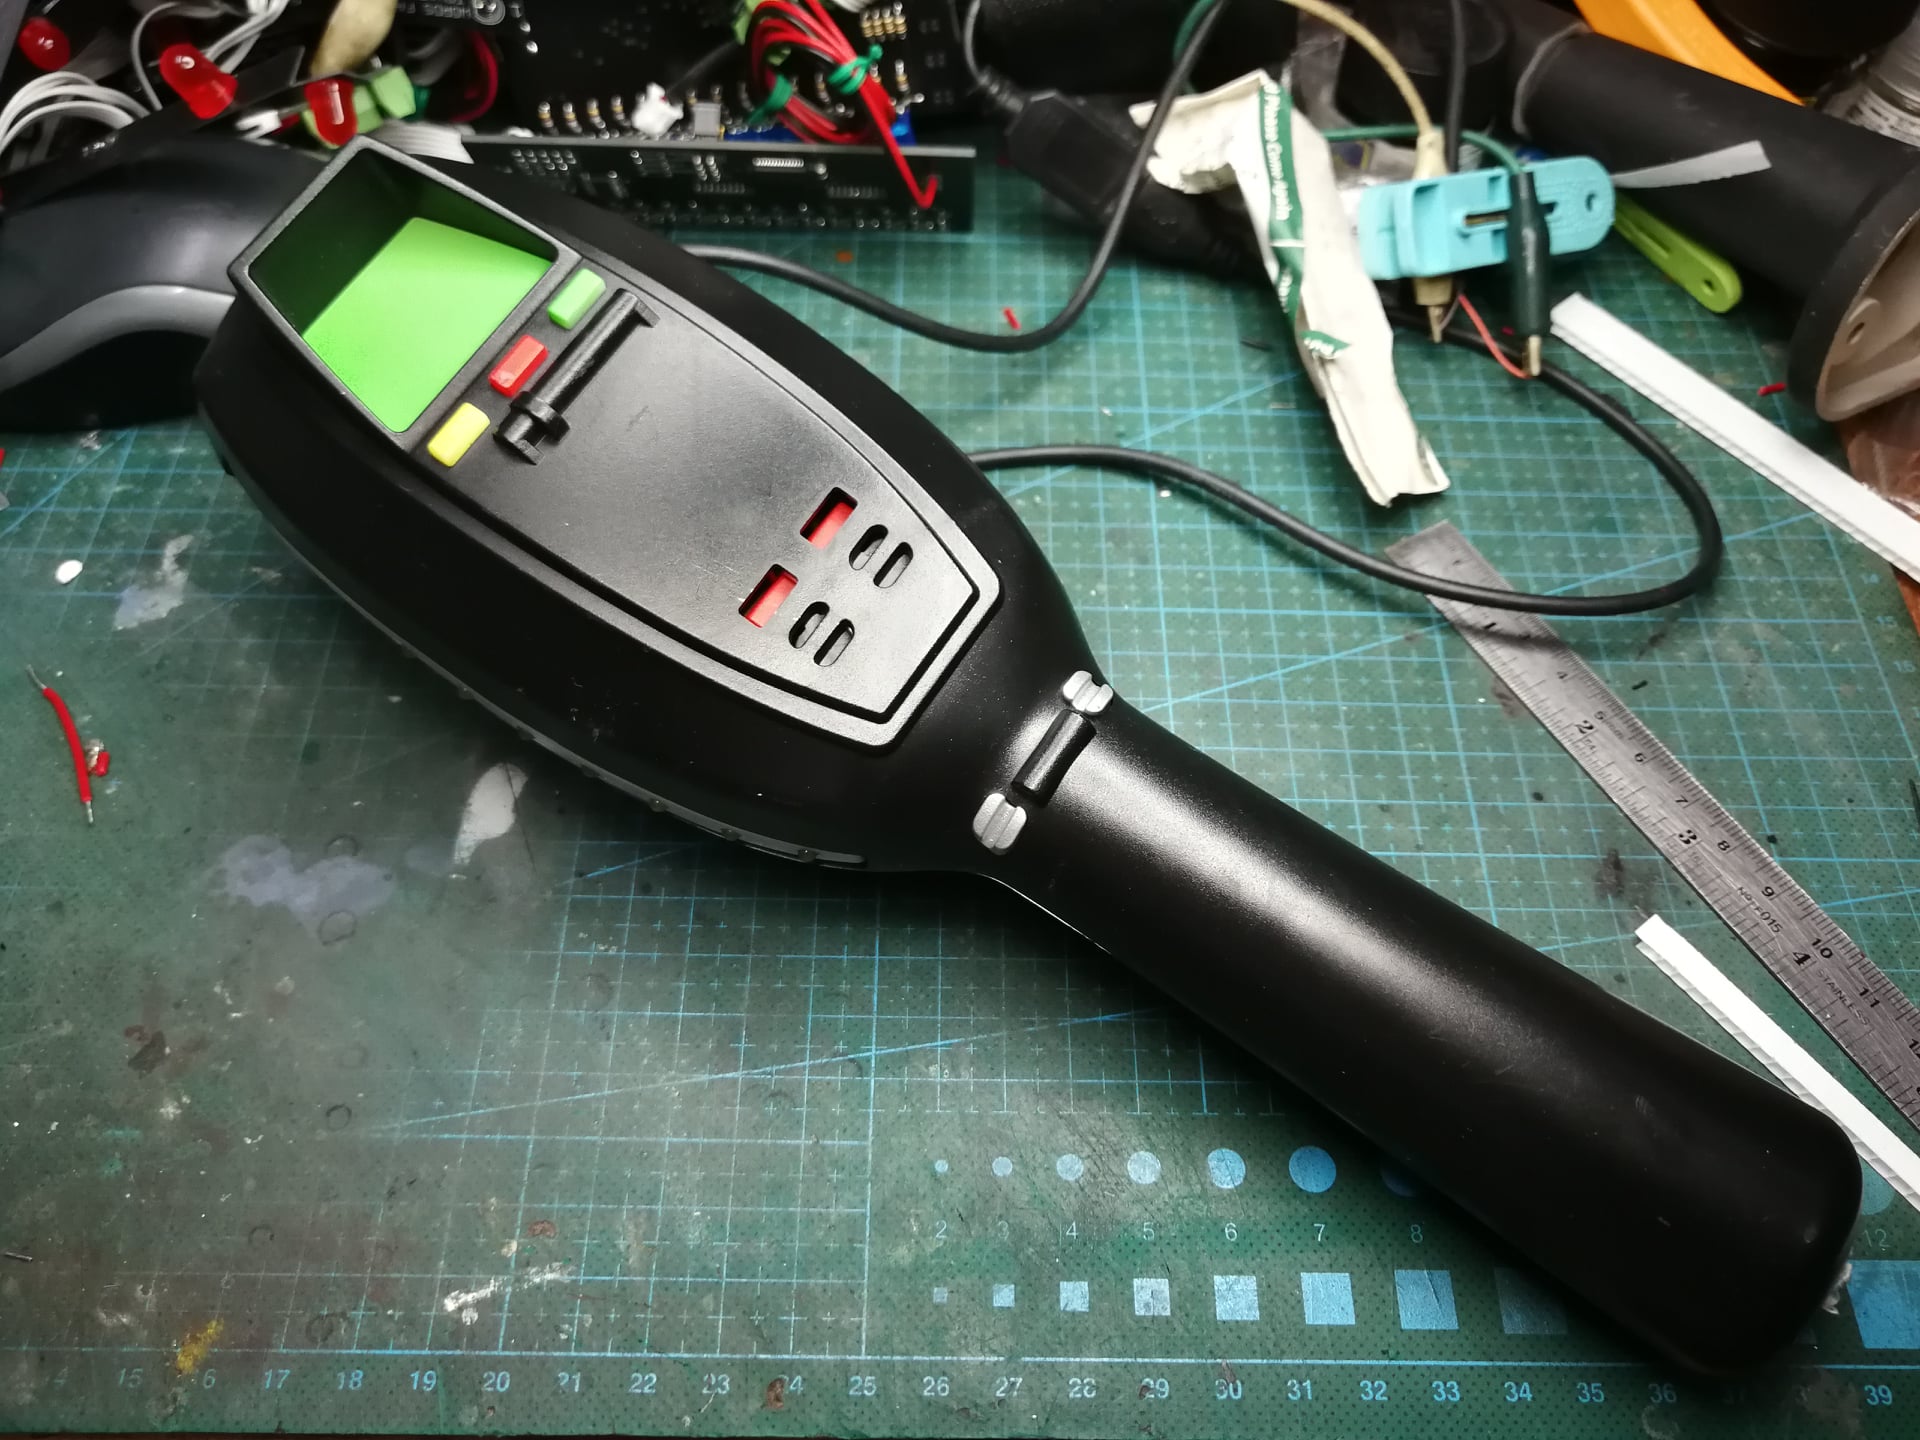
11.12.2021 The PKE meter is what a Tricorder is to a Starfleet Personnel.
And I did not have much interest in this shoe polisher until the movie Afterlife. Yeah, now, I don’t mind getting one but still, my main passion is and will be, the Proton Pack.
I had the chance to go though this meter which is from the Black Series. However, I would prefer the Matty version though. In this case, the owner told me that it works intermittently and most of the time, it does not. Since the PKE Meter needs the switch to be activated, I would guess that the switch might be the culprit.
It was not until days later, another friend who passed it to me, stated that, “We cleaned up most of the leakage” which at once the light bulb lit up. Yep, you guessed it. Like all battery operated equipment, if the battery is left inside even if the said equipment is ‘OFF’ or on standby, the circuit is still activated.
In other words, the exhausted battery leaked.
With those clues, I know what my work is now. And it could be very unpleasant.
I do not know how long this PKE has been used and so, I would not know the extend of the damage of the leak. I just hope that it does not affect the motherboard.
Oh, and see the two red rectangular ‘buttons’?
They’re not supposed to be embedded as I found out later, the hot-melt glue underneath their PCB has gotten loose.
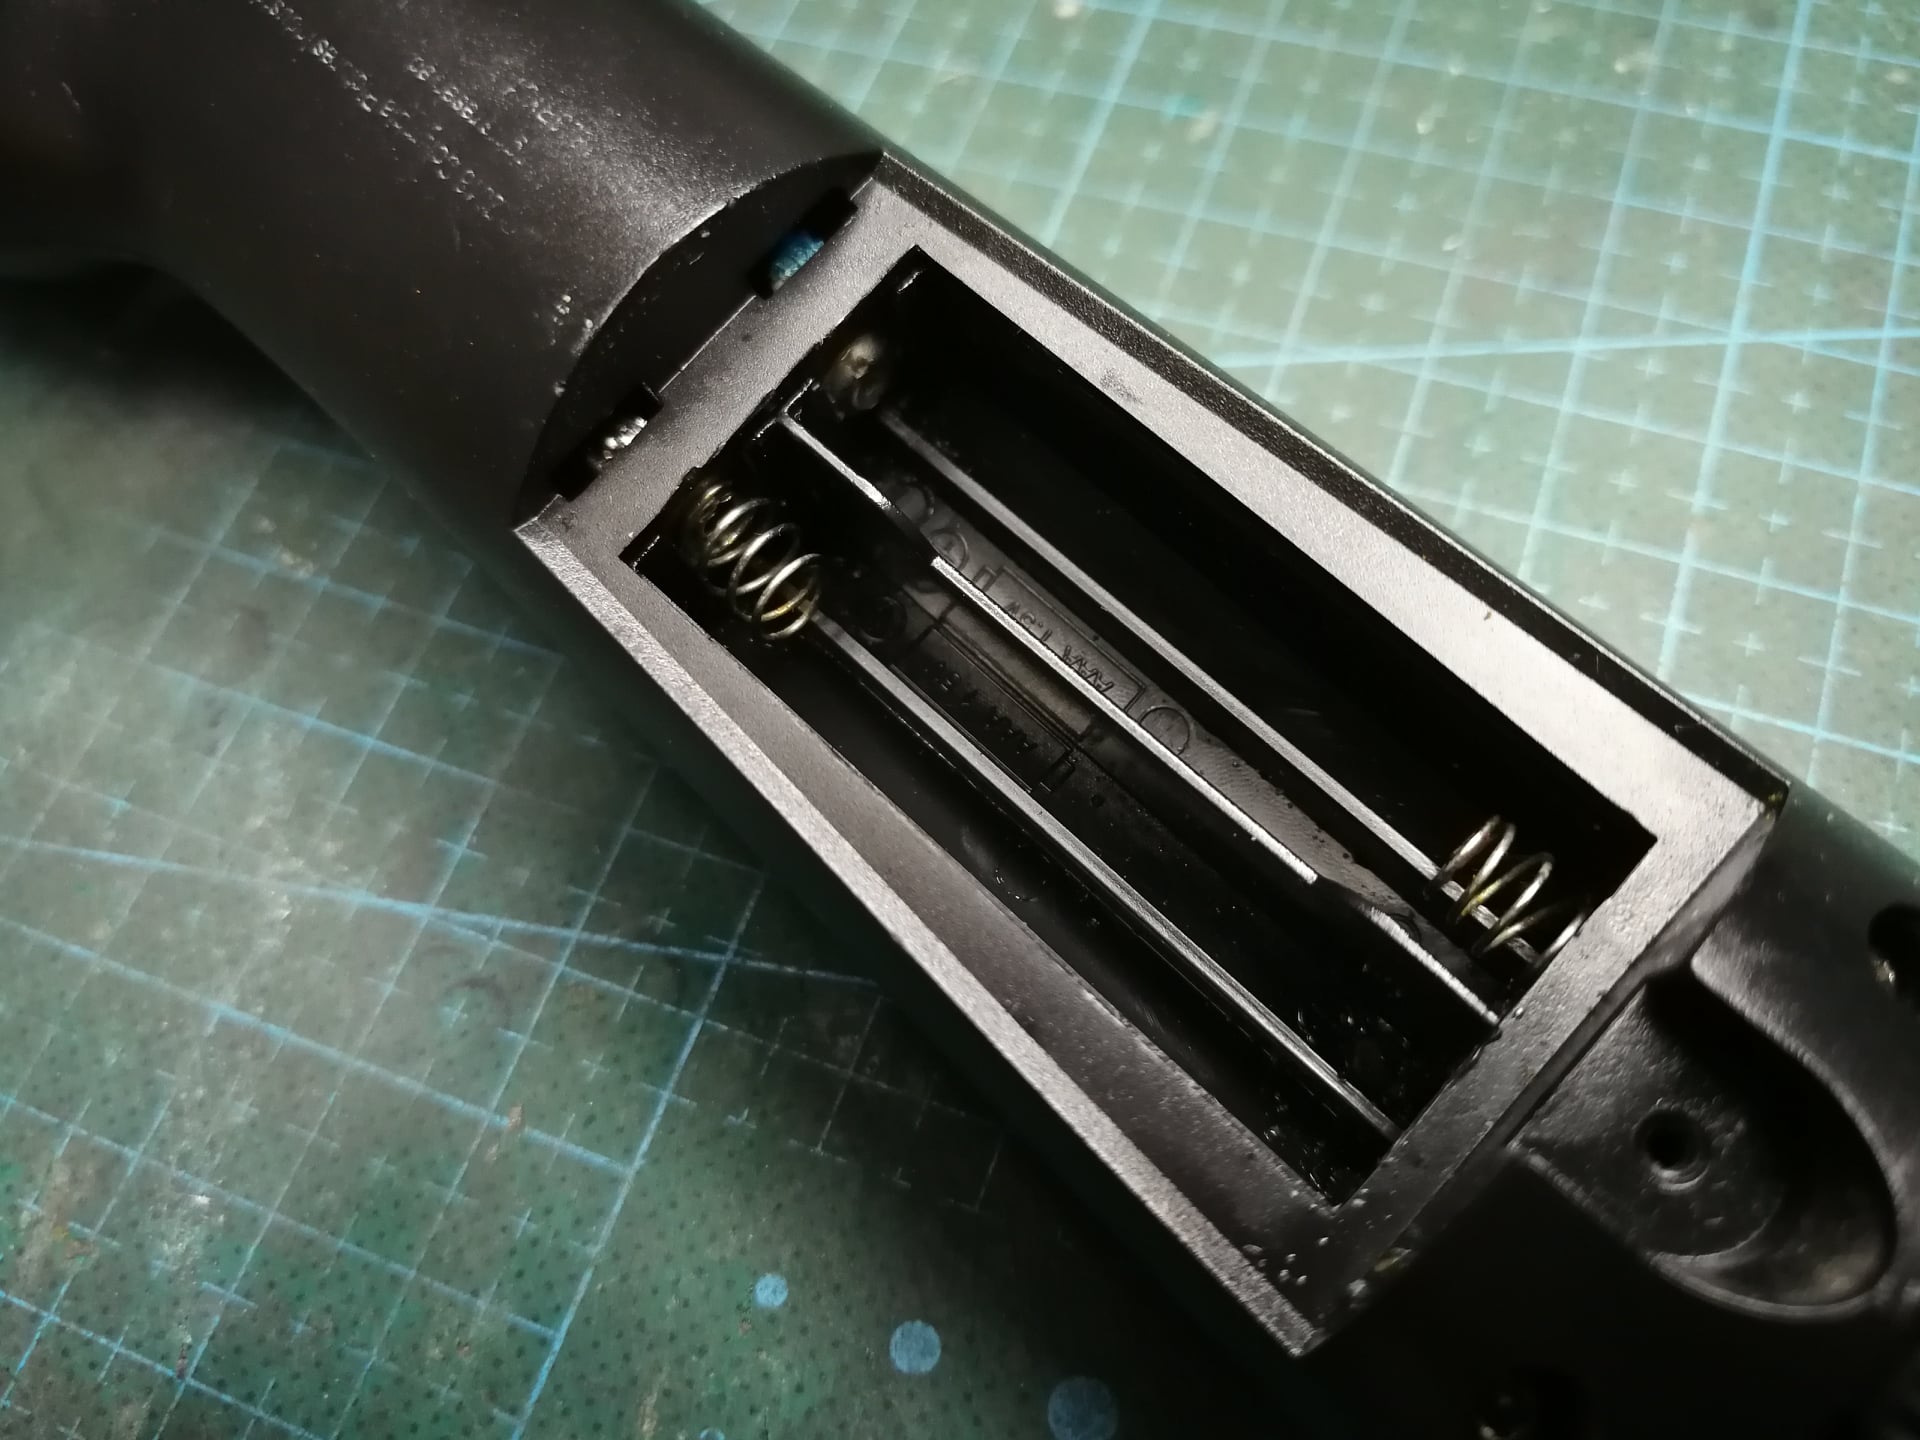
When I opened the battery cover, there was still some residue. You might not see it, but the glossy sheen inside the compartment shows it all. Luckily, the chromed contacts are still OK except for one piece.
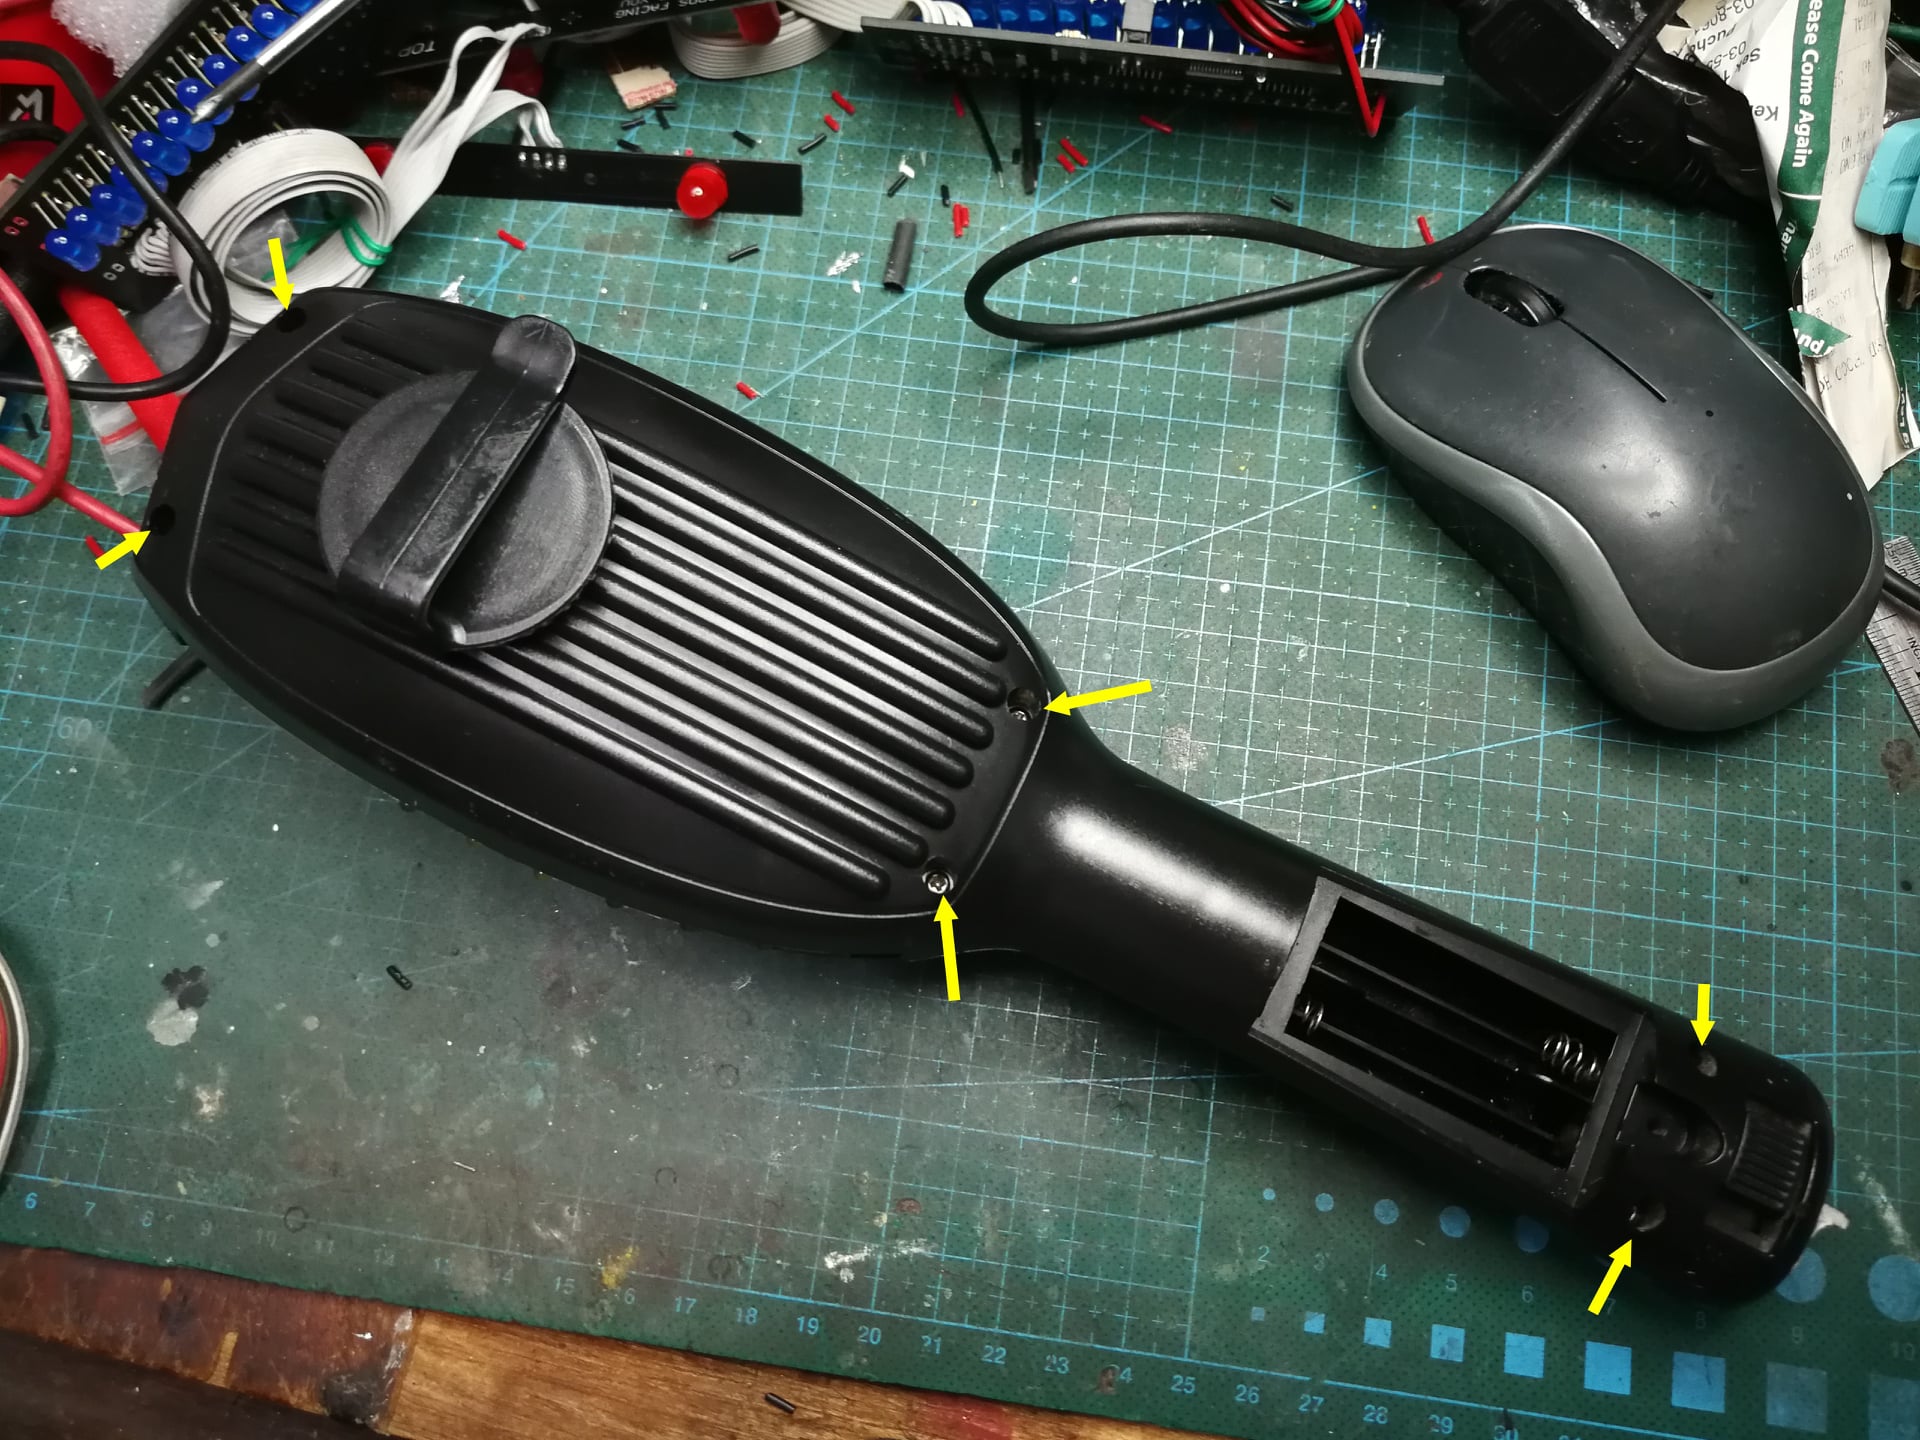
The PKE Meter is secured by 6 screws. I was glad because if they used those snap-fit methods like the TV remotes, opening this would damage a lot of things.
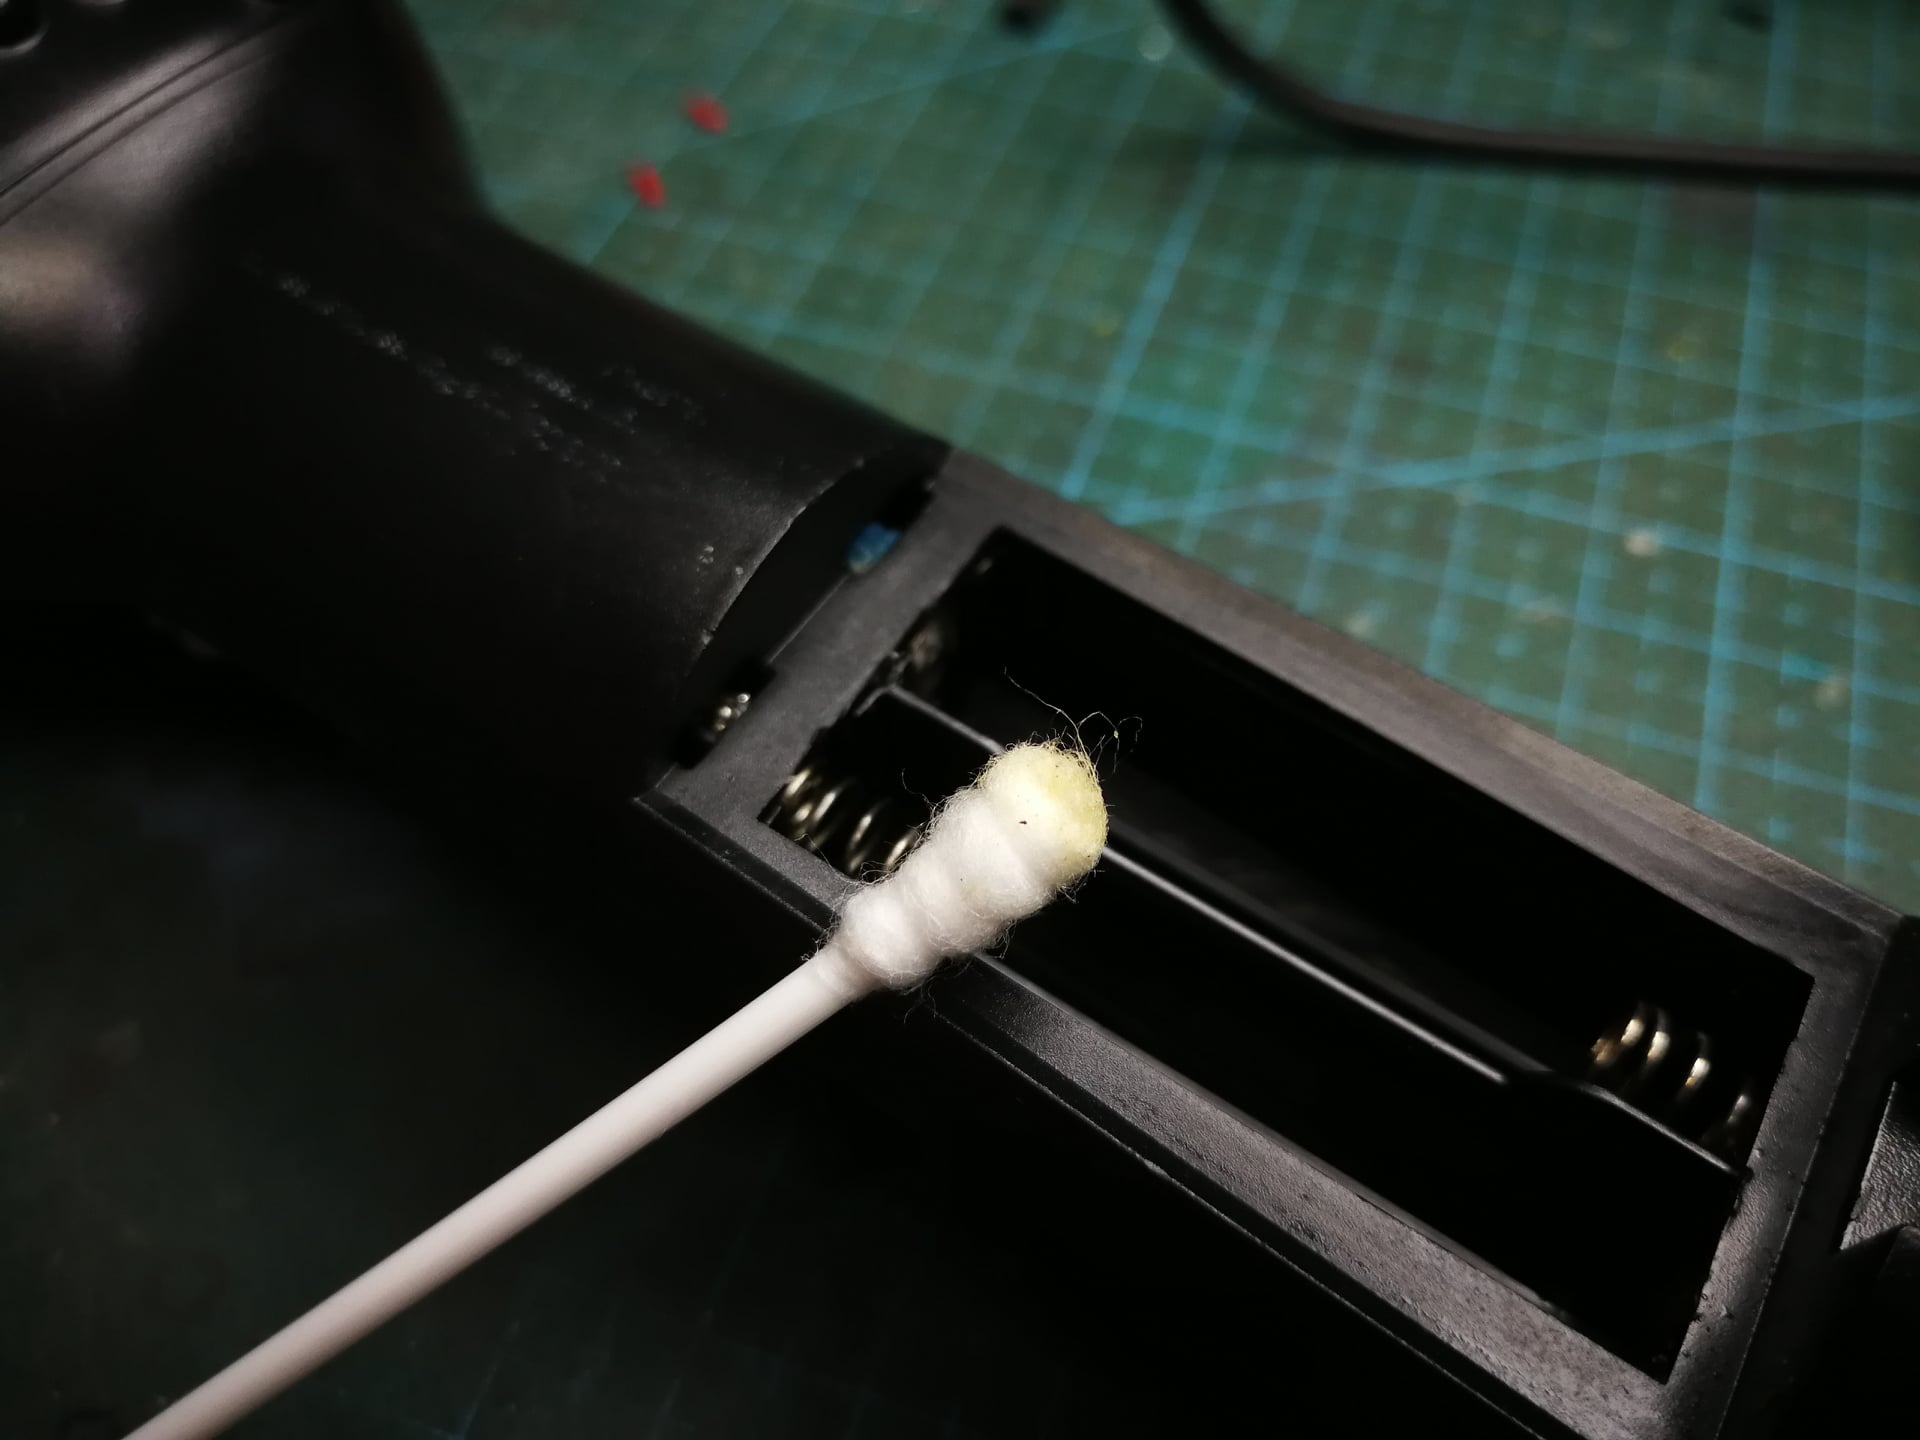
Anyway, I started with the IPA swab to clean up the battery residue. Yeah, the cotton bud turned brown within the first swipe.
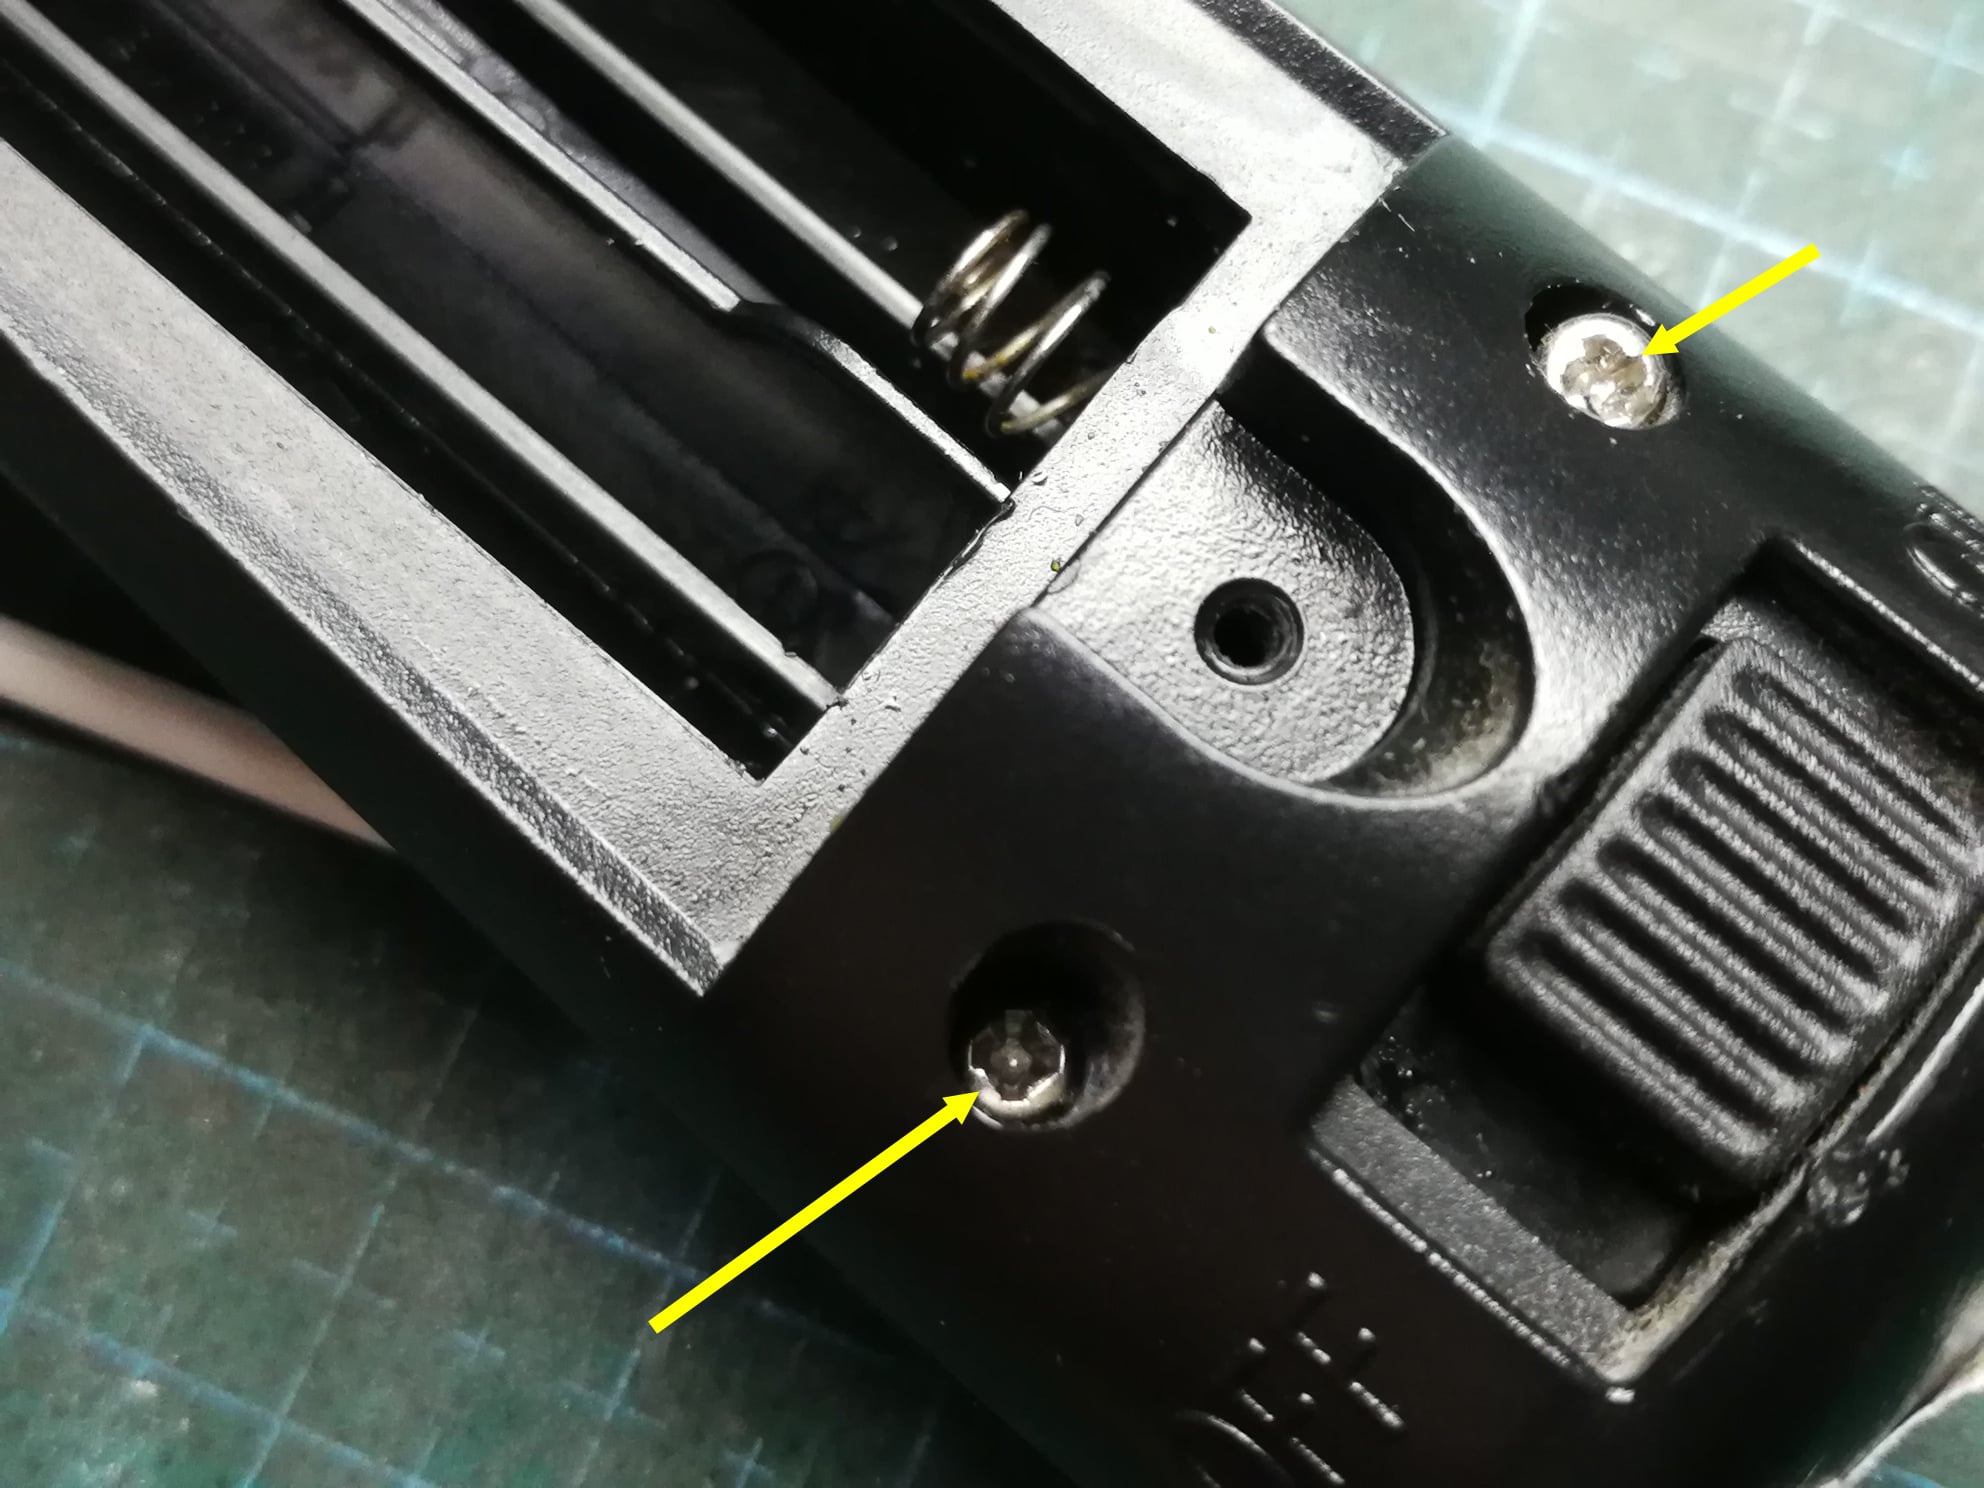
Coming back to the screws, I know that this PKE meter was never touched. The tell tale signs are that these soft screw heads are still in pristine condition.
Plus, there is a way to open them whilst minimising the damage to the screw heads. All you need to do is to push the screwdriver down, and slowly turn anti-clockwise. You will feel some resistance and then, a click. This is the actual proof that the PKE meter has not been opened.
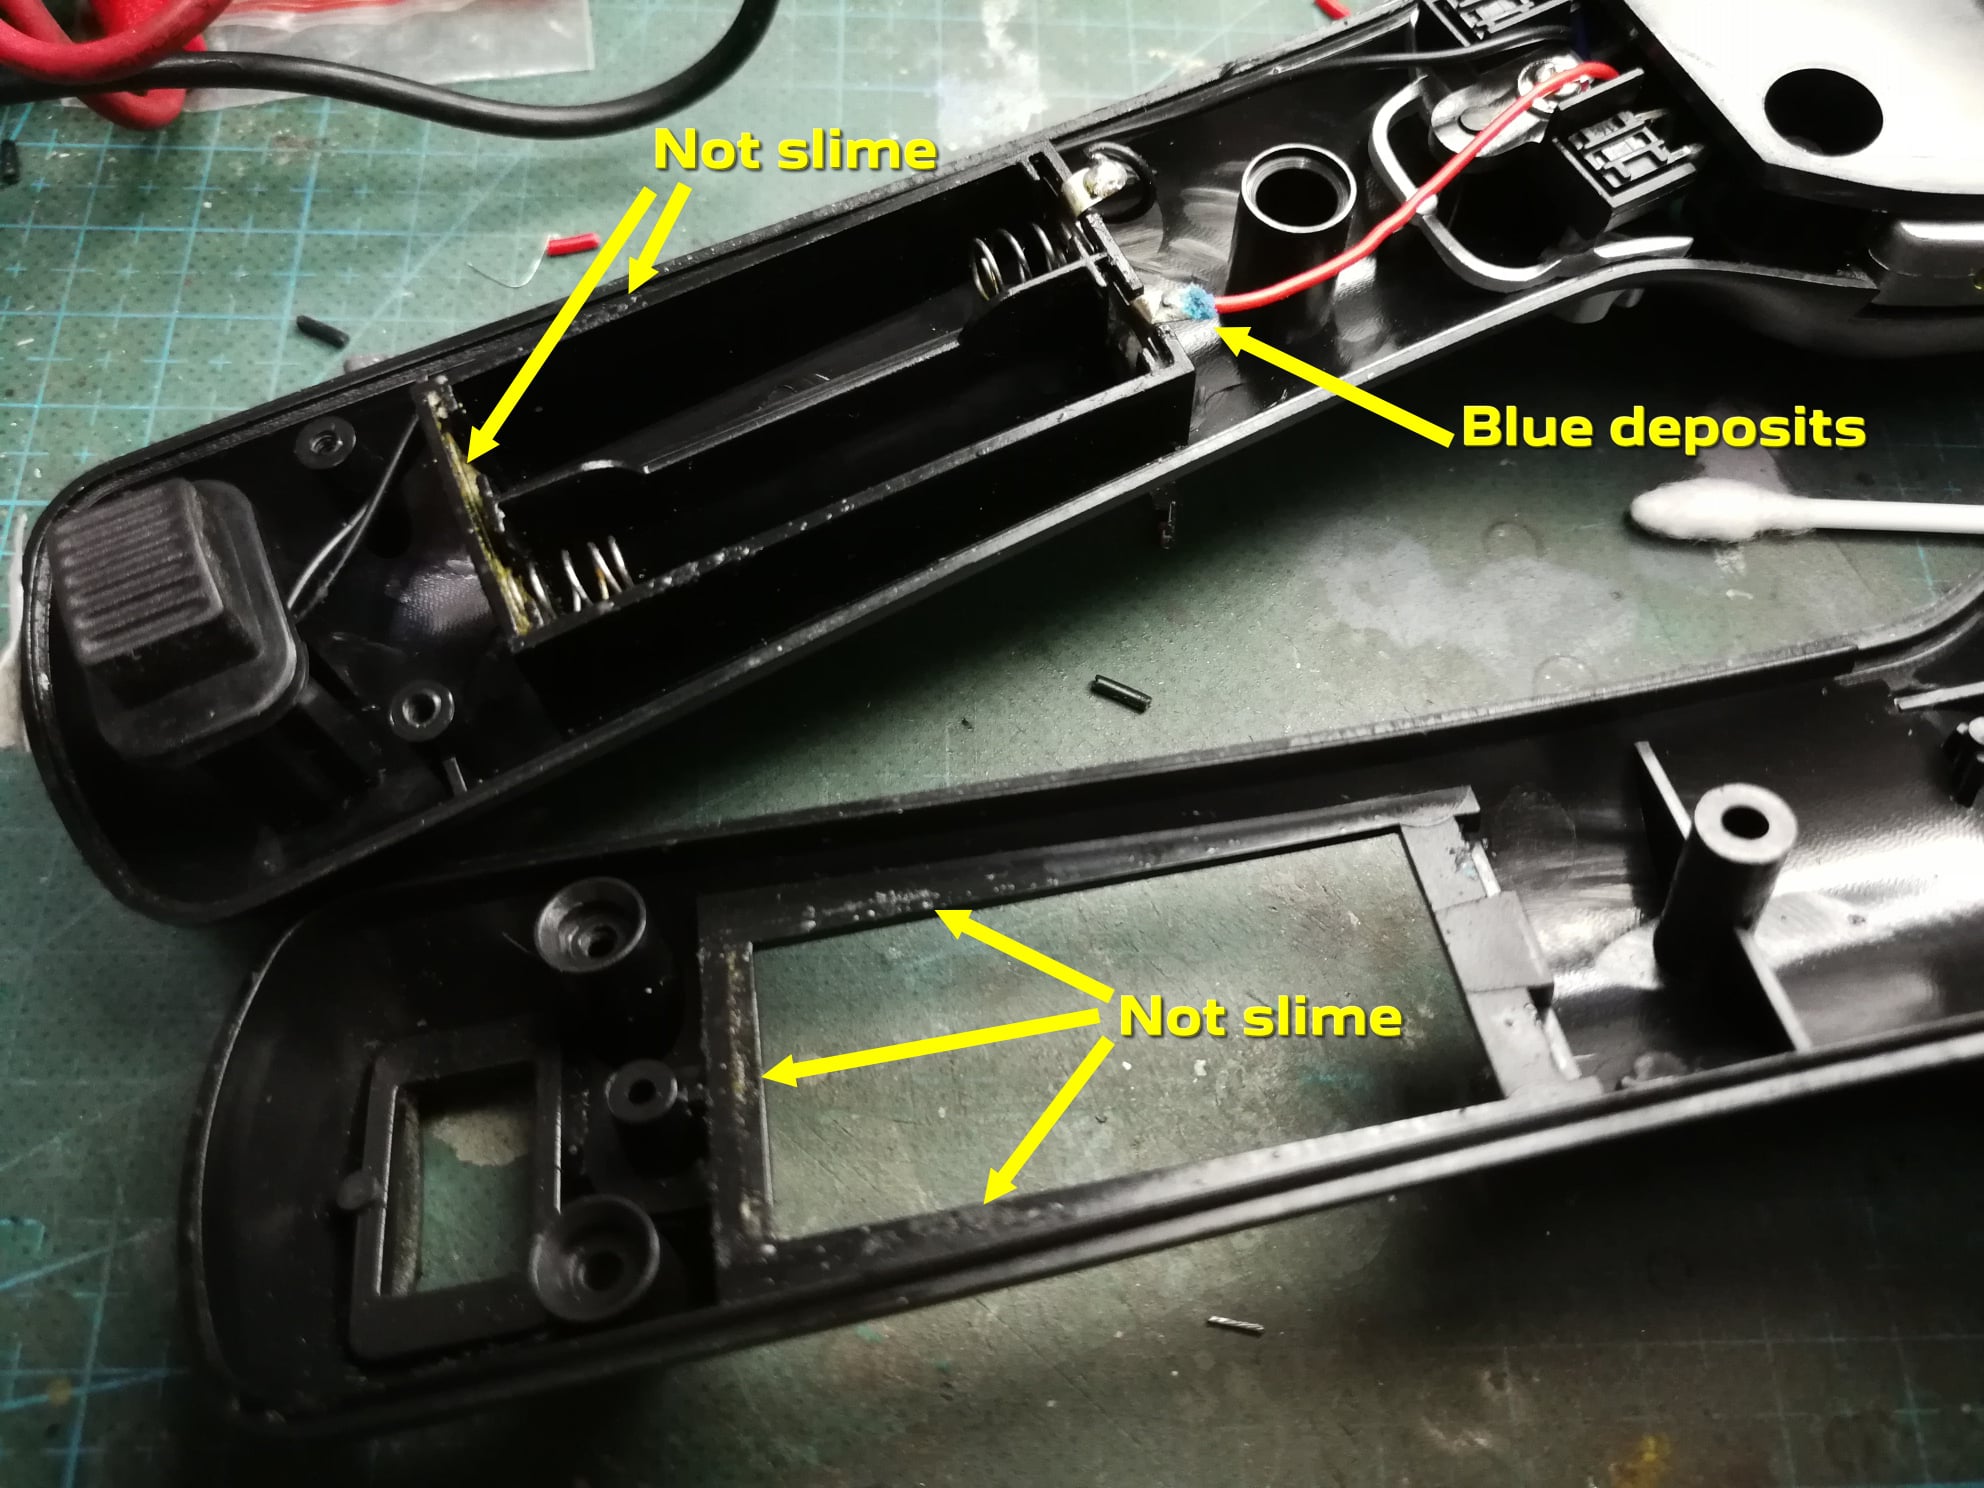
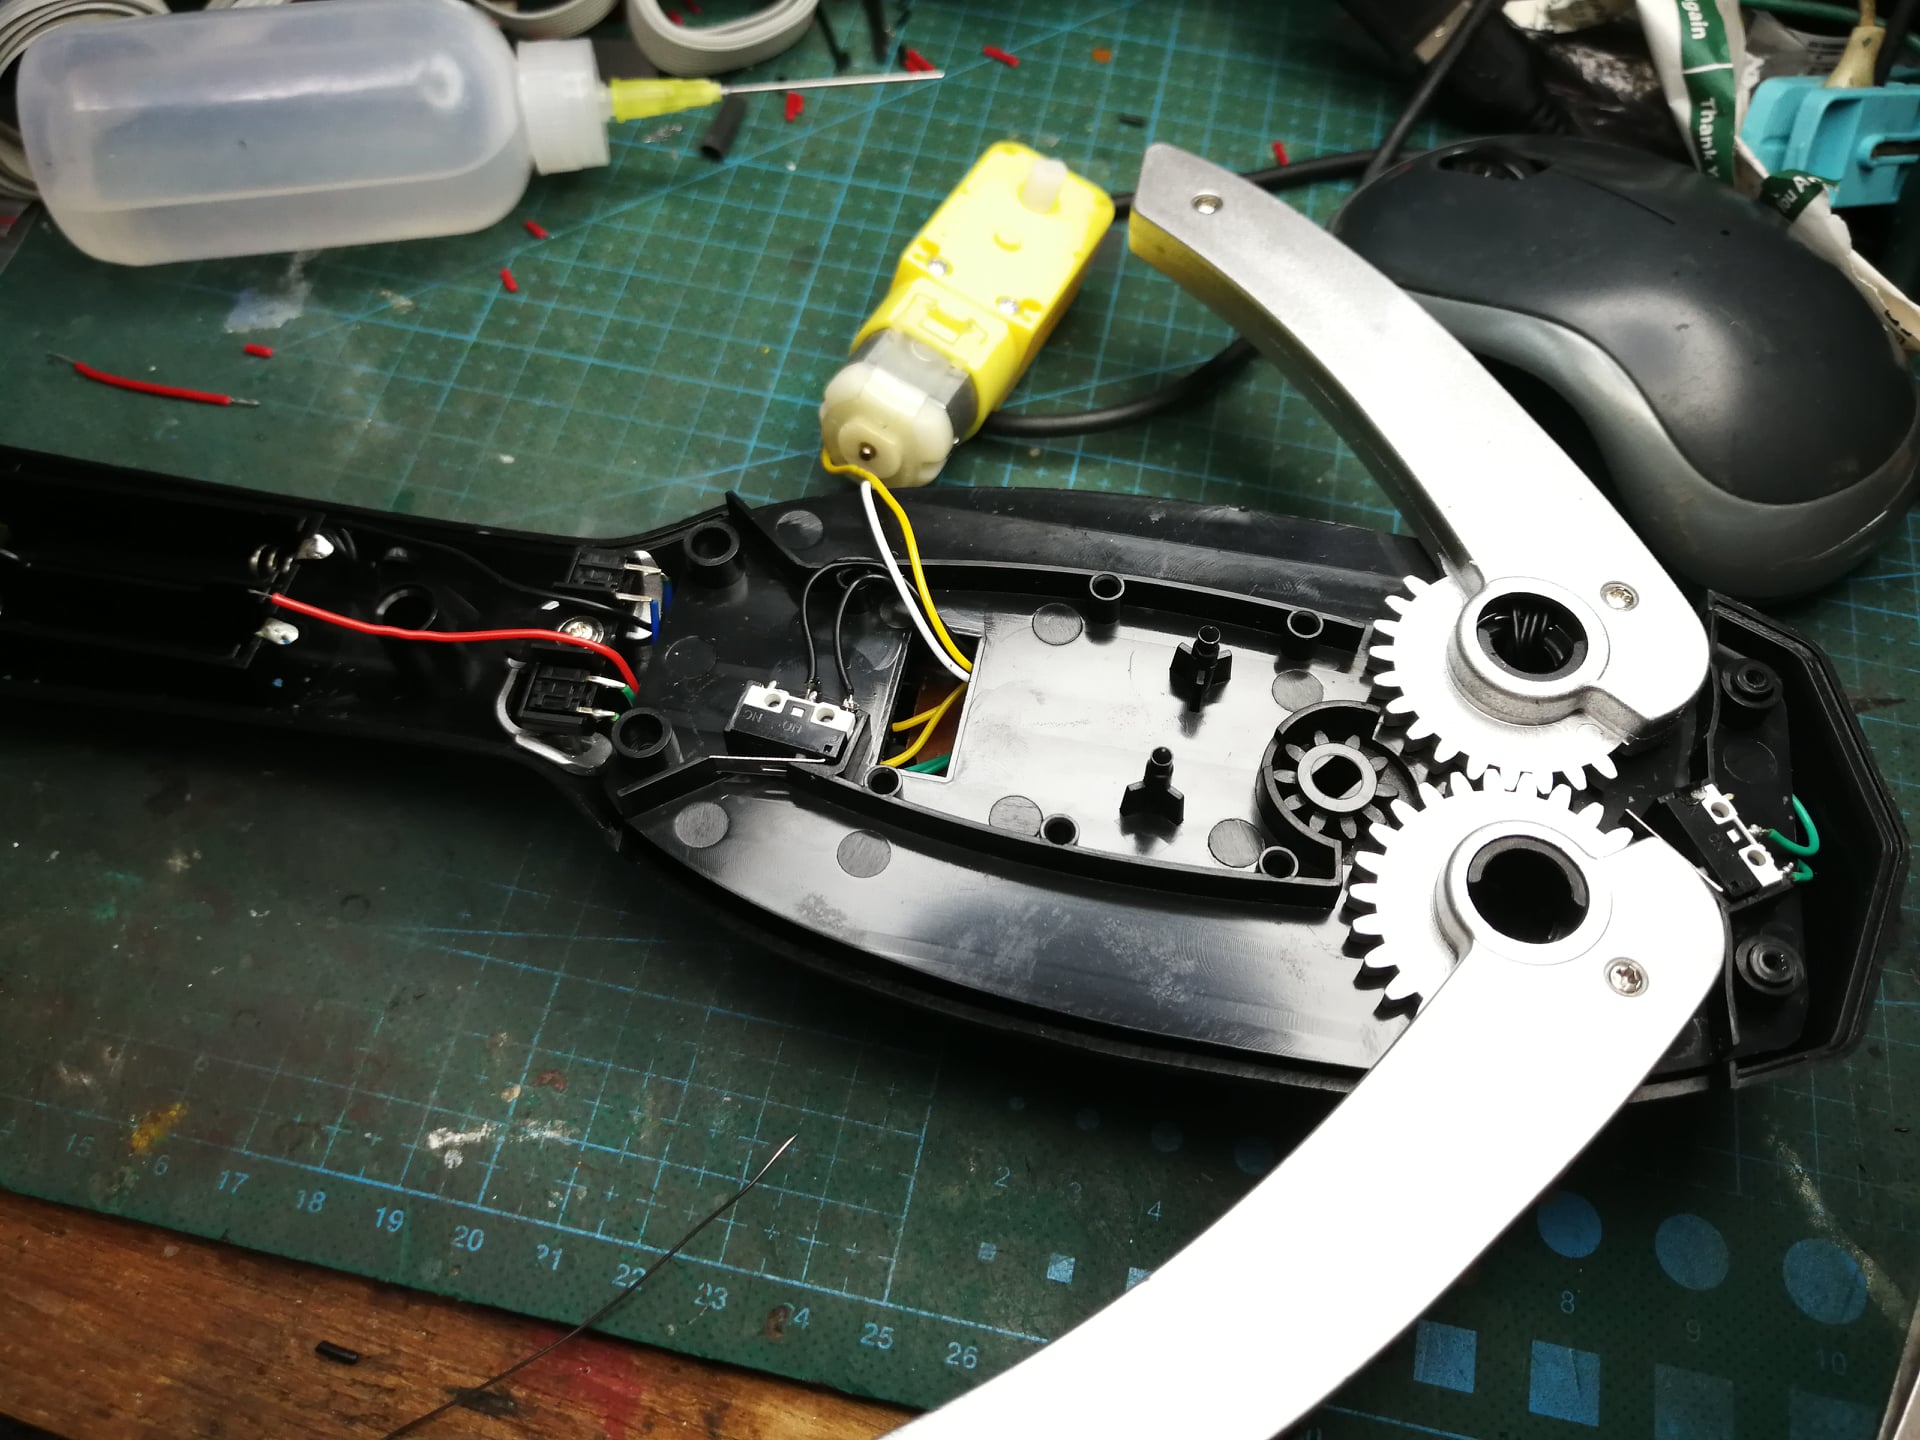
Once the two halves were separated, there were more cleaning to do. And then I saw it; the blue deposits (copper sulfate) which is the result of a chemical reaction. I’ve even checked the slide switch on the left and luckily, it was unaffected.
So, I know that this red wire is in trouble.
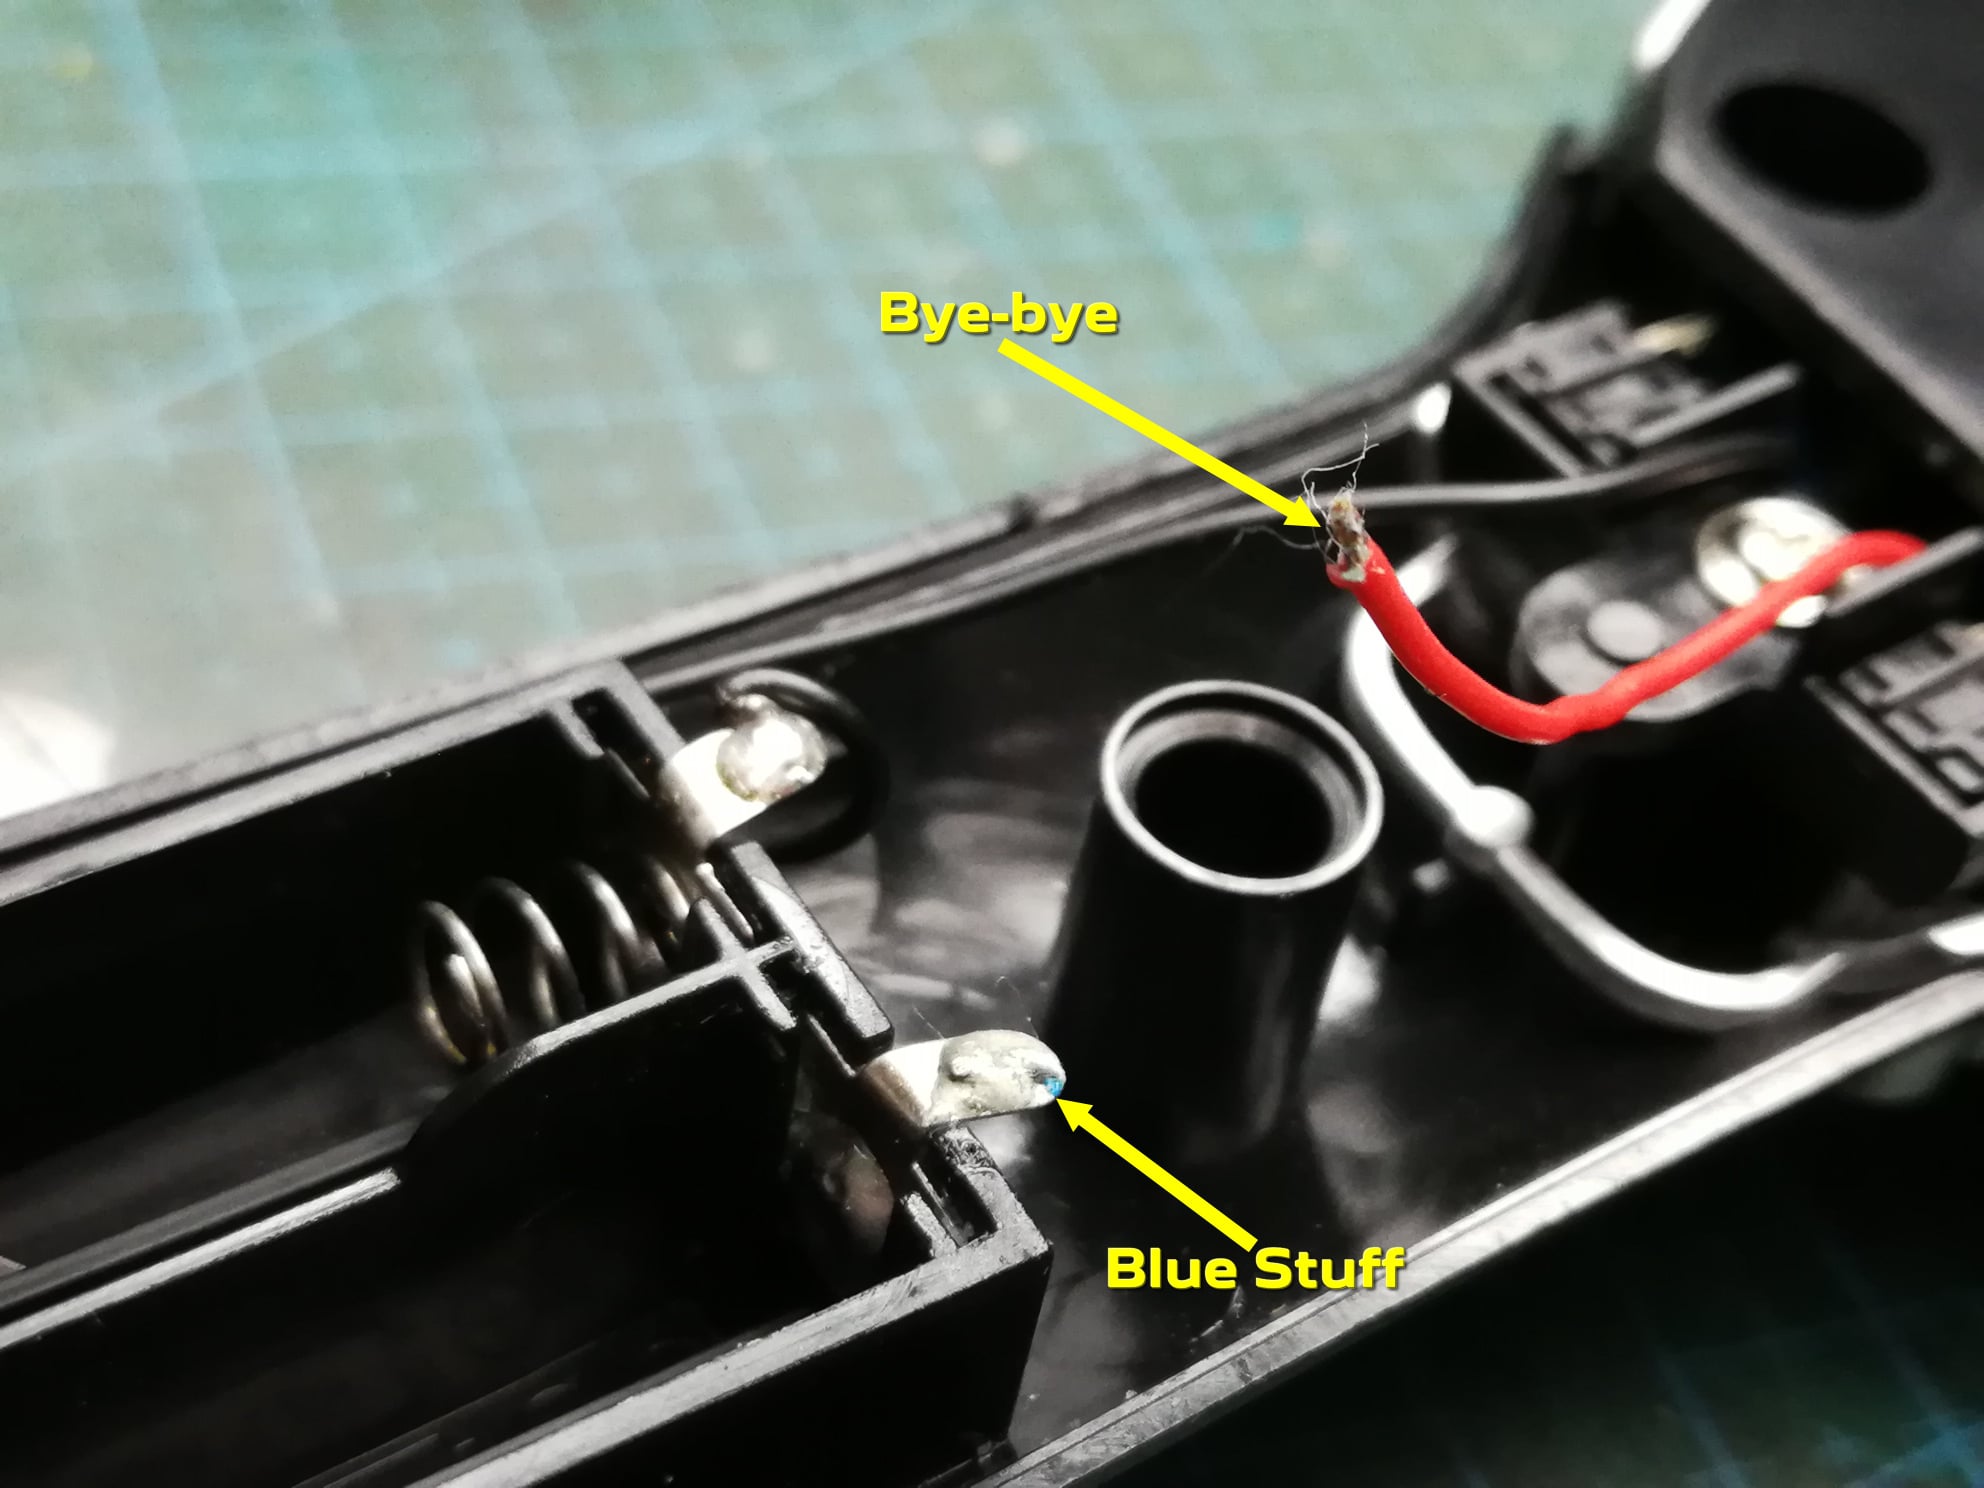
All it took was just a gentle nudge and it came apart….

After taking the wire out, and I just so happen to cut at the right place, the wire was eaten inside and it turned black. Another tell tale sign that this wire cannot be used would be small blue deposit.
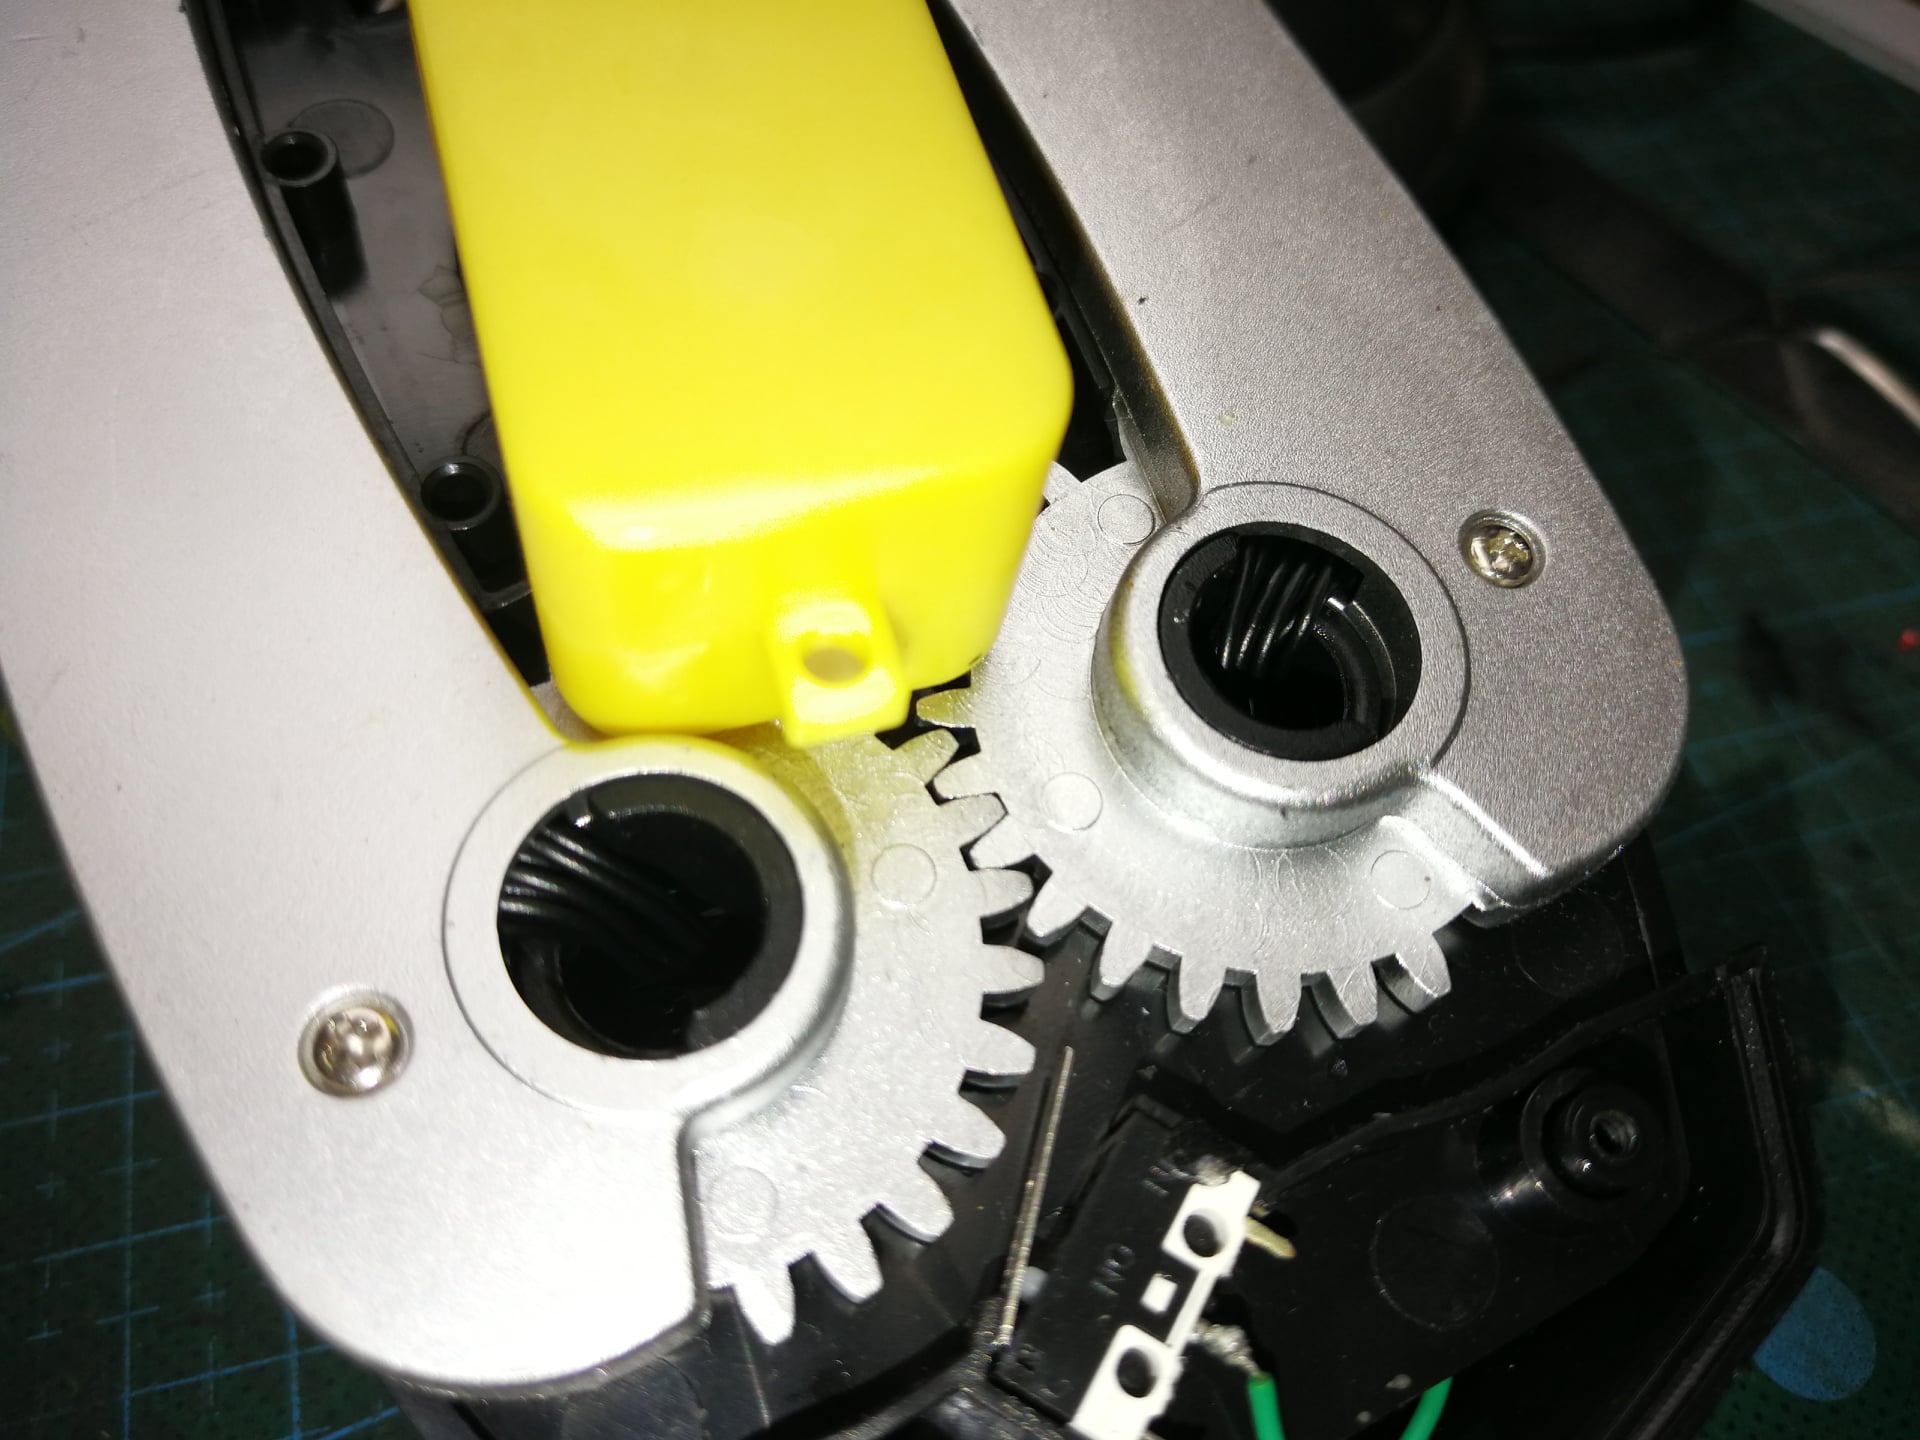
As the PKE meter has moving parts. There is another plate which made sure the mechanism would not get tangled with the wires. I am starting to love this design already
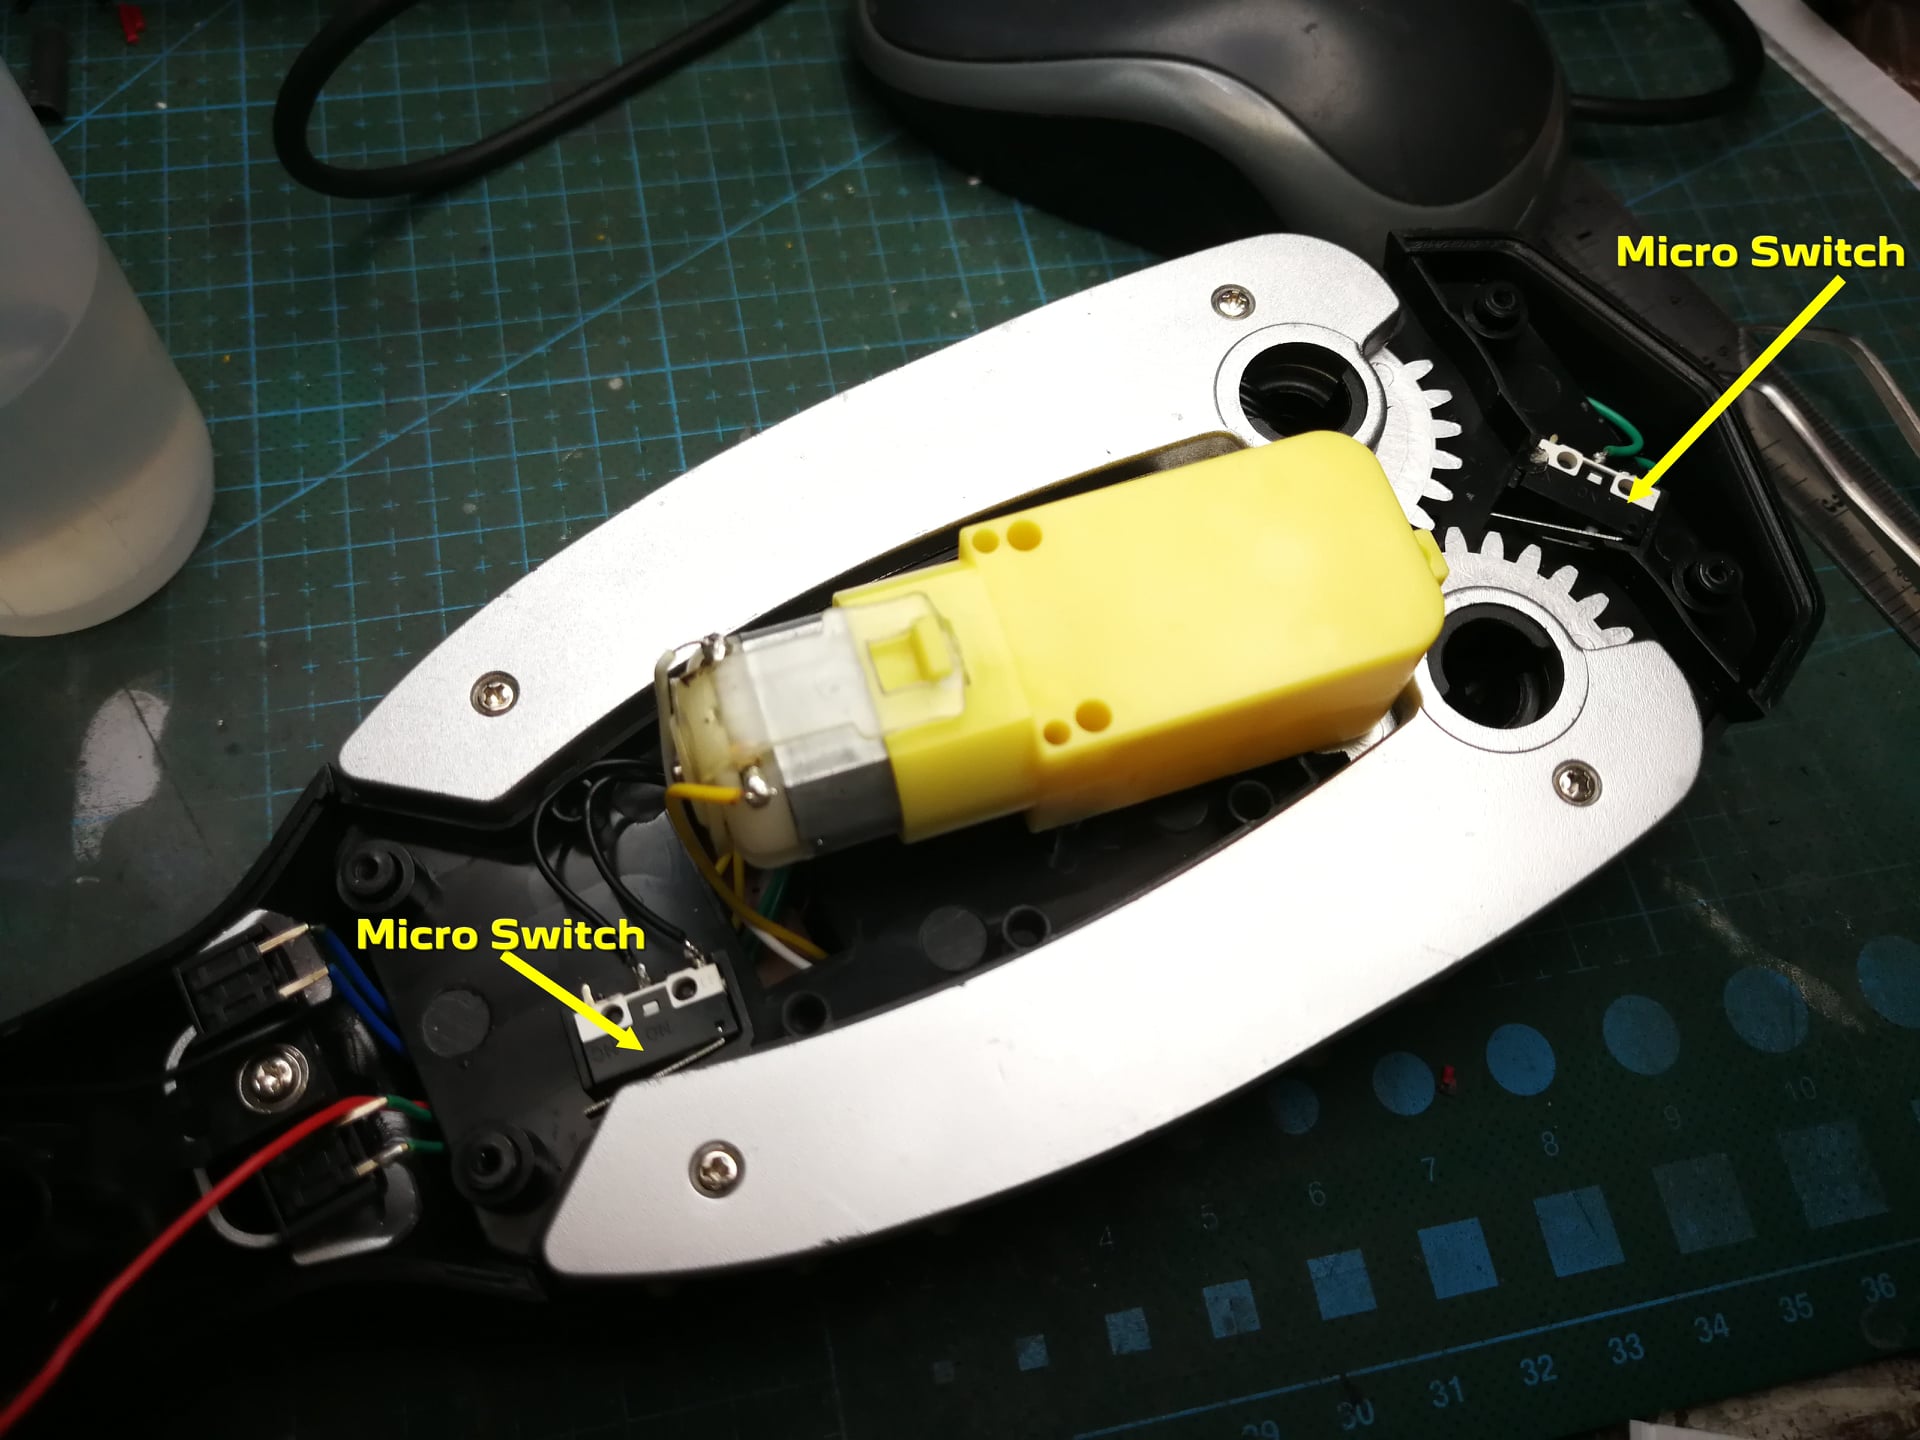
The are two micro-switches to tell the microprocessor when the wings are out or closed. But if I am not mistaken, this PKE meter does not open/close according to the strength of its ‘readings’.
Yeah, there are a lot of wires into the wing. I am tempted but I am not going to open the wings since this is not mine.
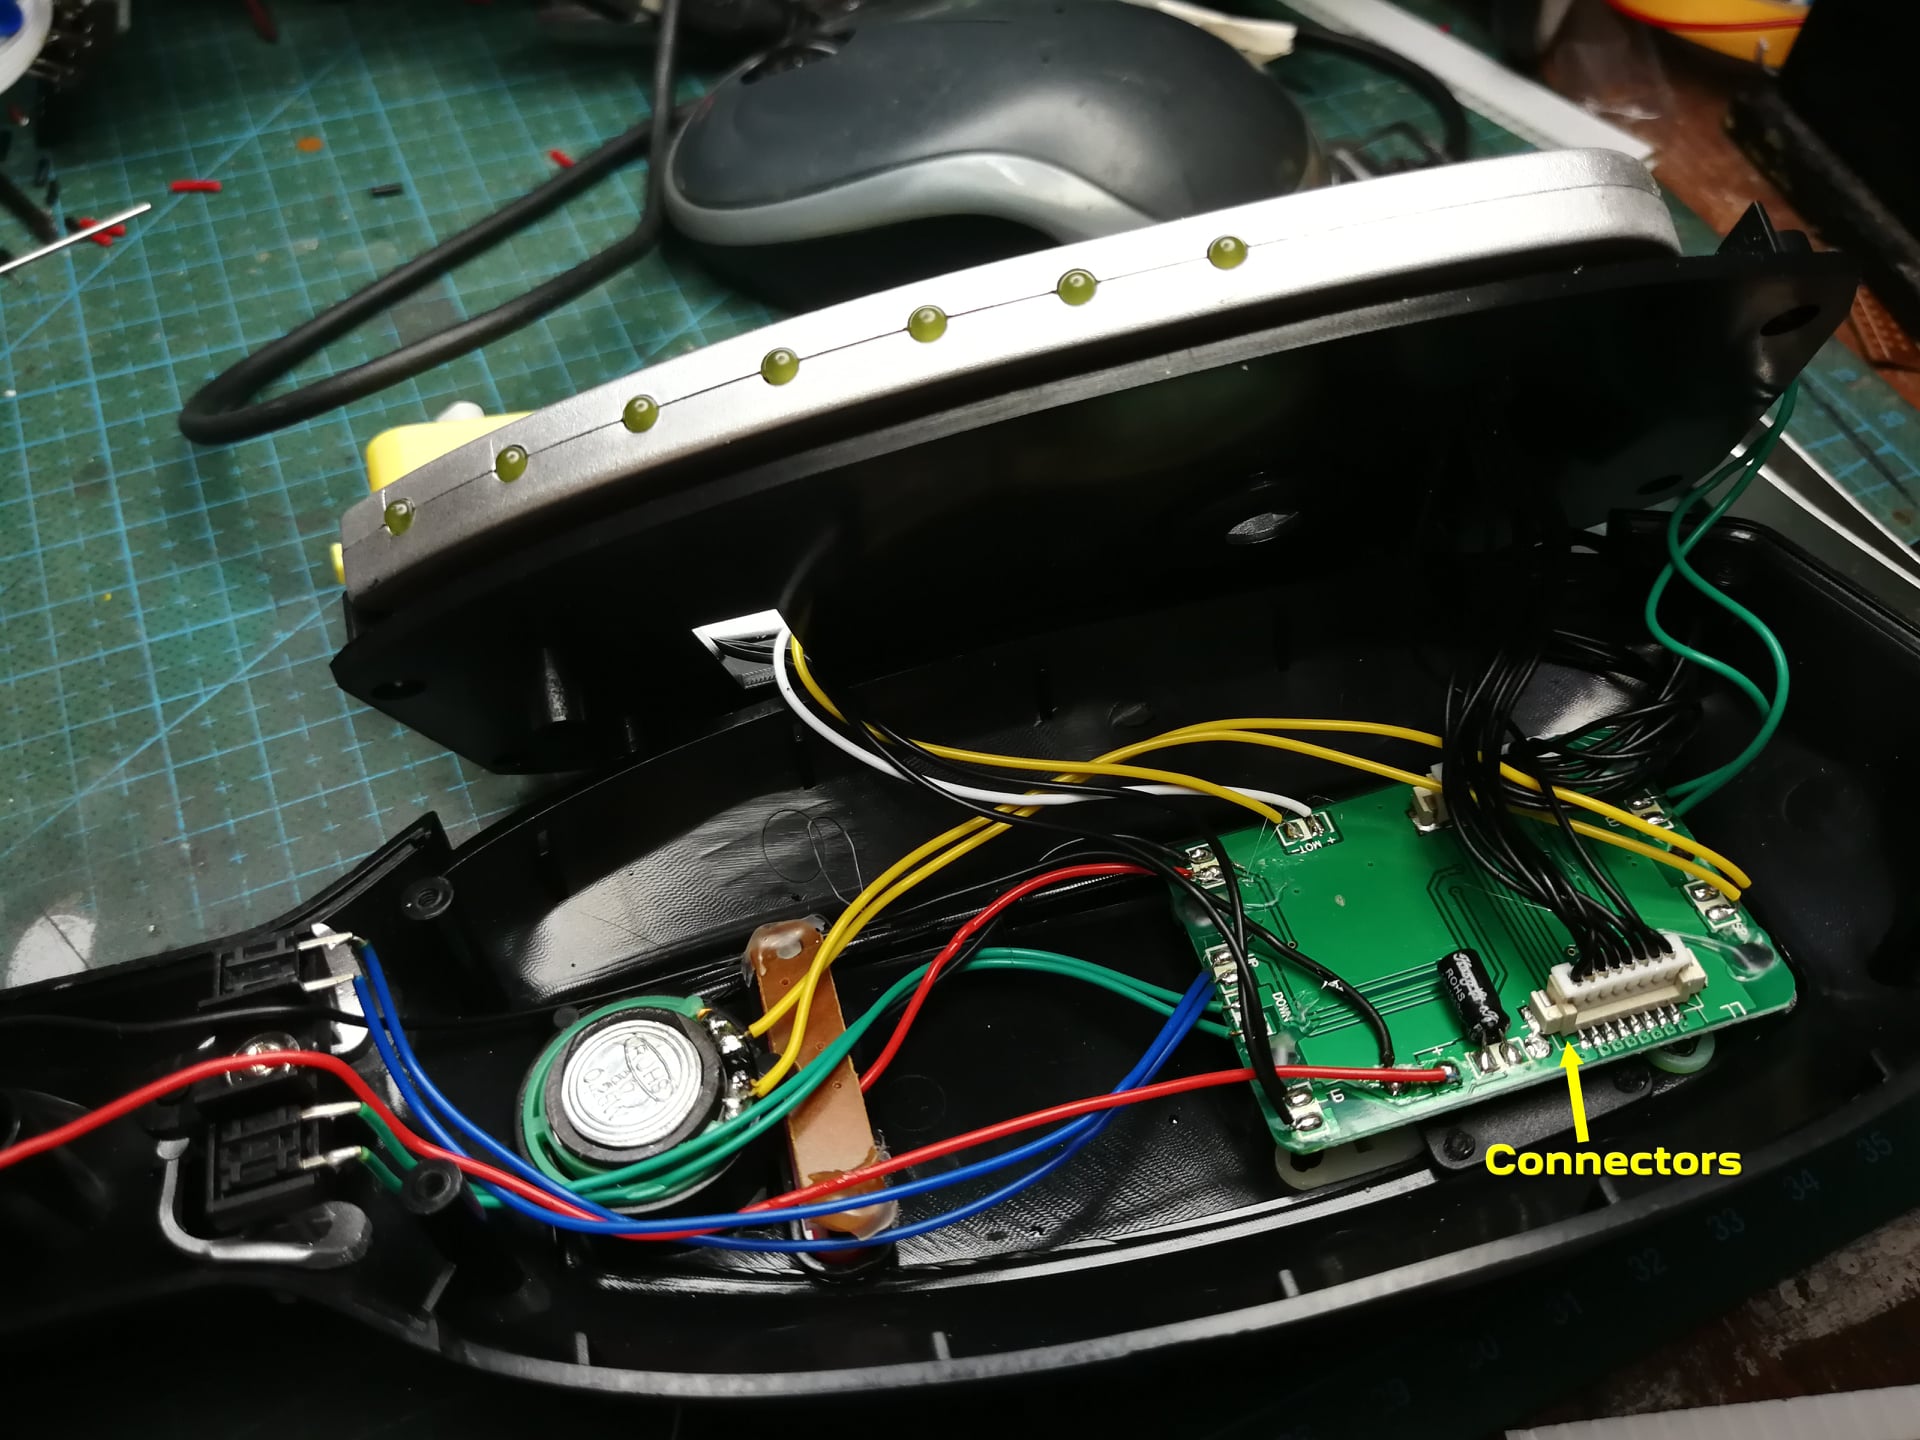
It might be quite expensive to use these connectors for the wings but I am thankful for that. I mean, if one day, someone needs to modify the PKE meter, all one has to do is to create a new PCB and use back the same connectors.

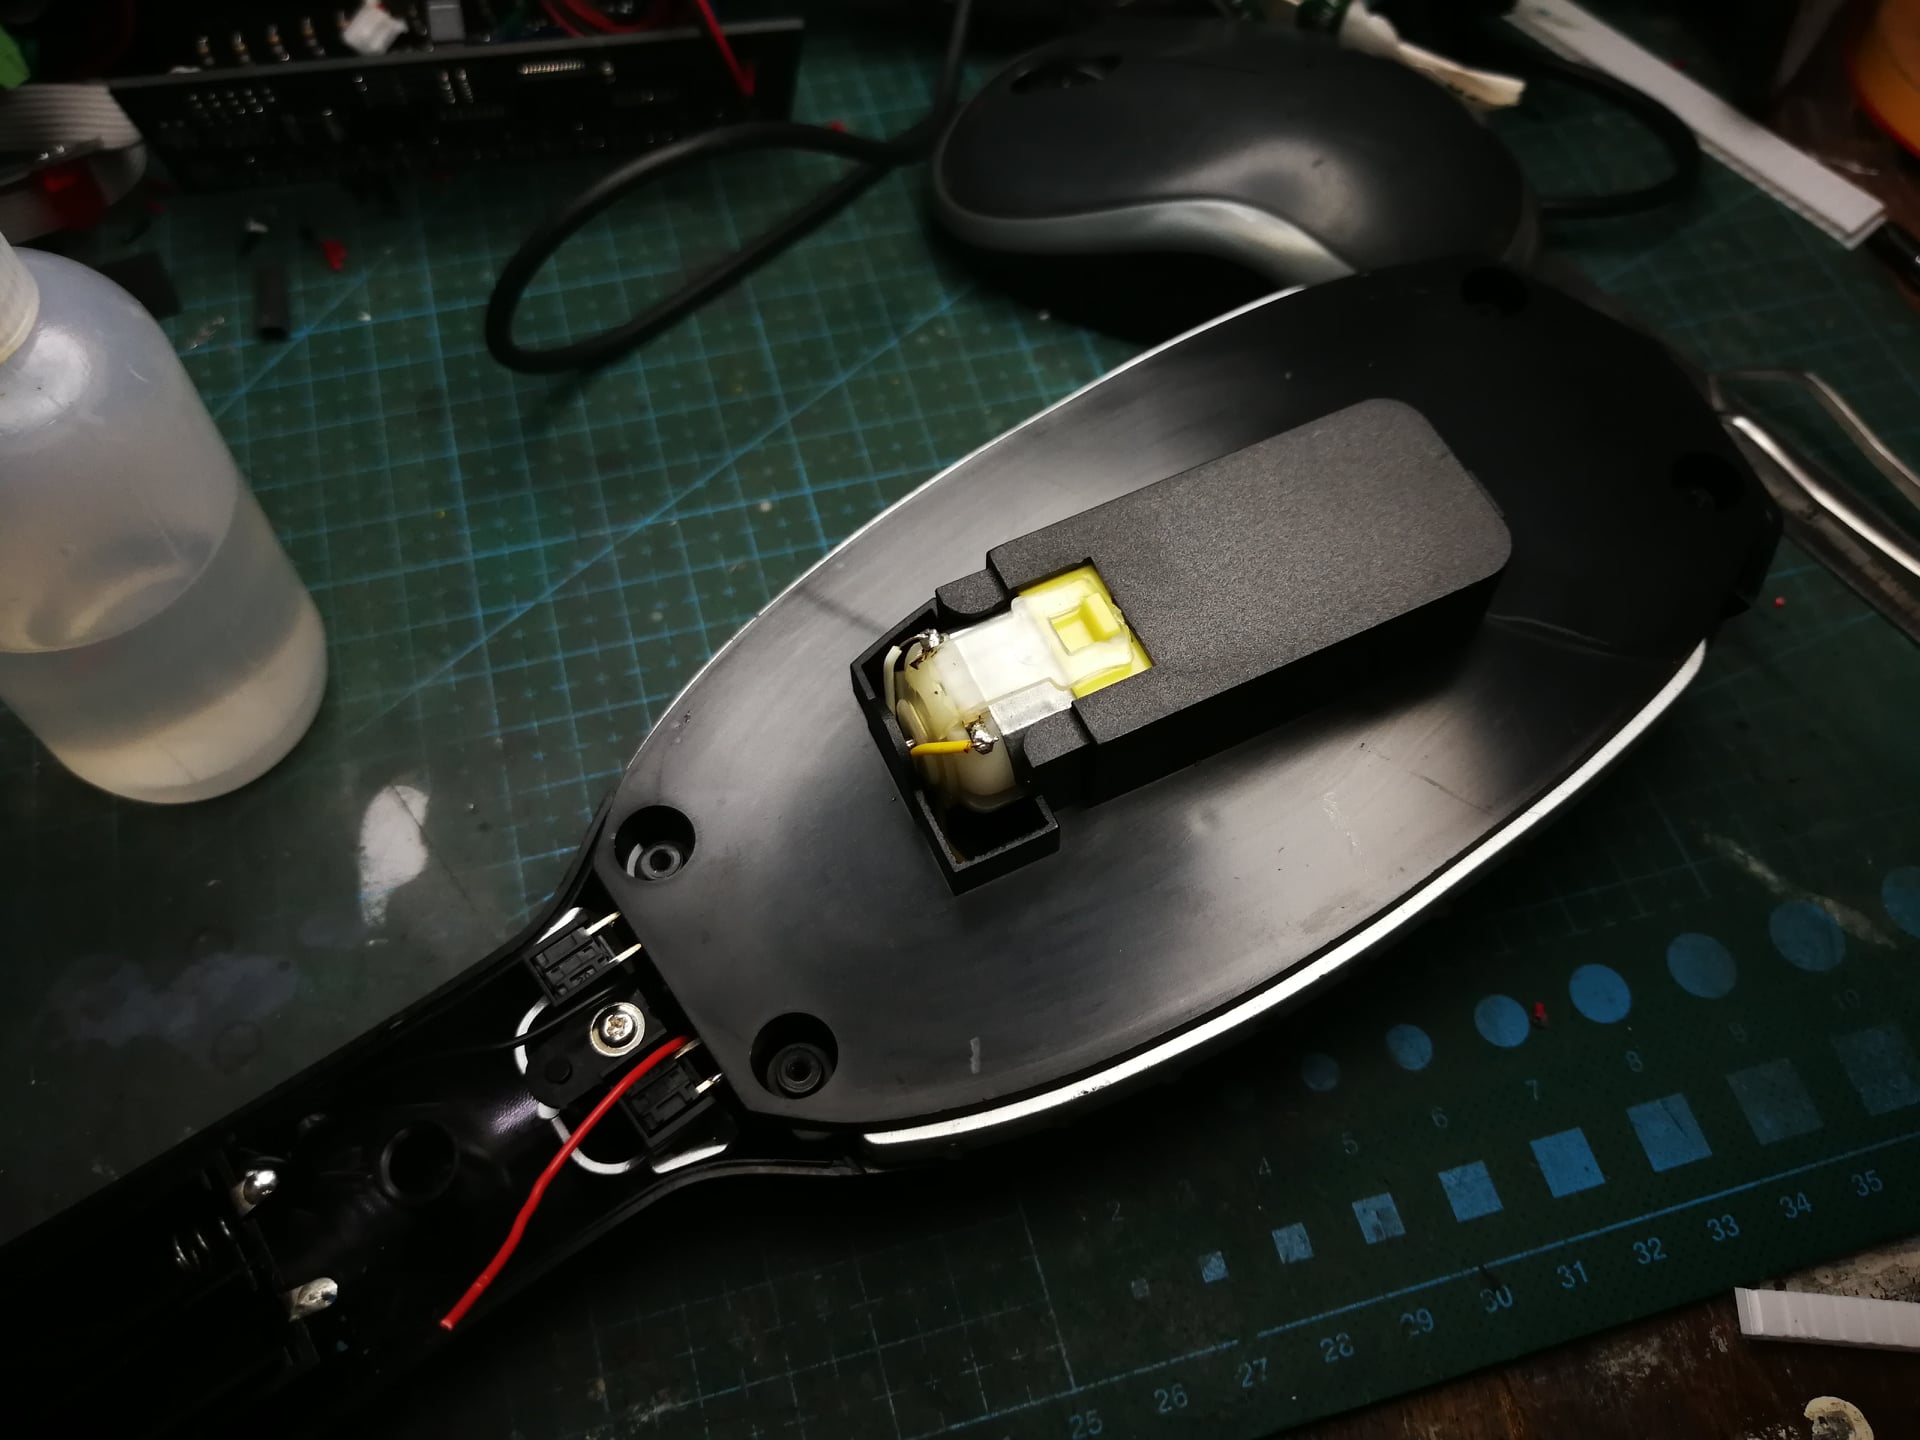
For an 8 ohm 0.25W speaker, this little 20mm thing sure is loud!

So I had to scrape the contacts a little since there was no electrical connection. How I wished I had the chemical to electro-plate the contacts. Then again, I do not repair stuff regularly.
Closing the PKE meter is simple as all you need to do is to just reverse your steps. Of course, in every step, you would be taking photos just in case you need to backtrack, right? Right?
